Azure AD Tenant Required to Generate Your Documentation
What Azure AD tenant should is one of the questions our support department gets asked the most.
Here is a quick answer. When you connect to https://generate.cloudockit.com, the first thing you have to do is to enter the Azure AD tenant name.
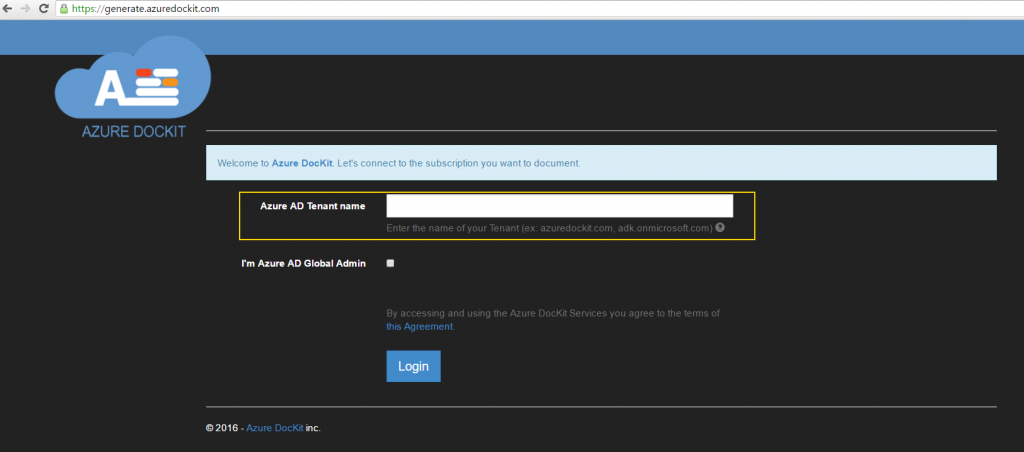
If you have access to an Azure Subscription with a Microsoft Account or with an Azure AD Account, there is an Azure AD attached to the subscription.
In Azure, when you connect to the management portal, you can see multiple Azure Active Directories which are all the Directories you have access too:

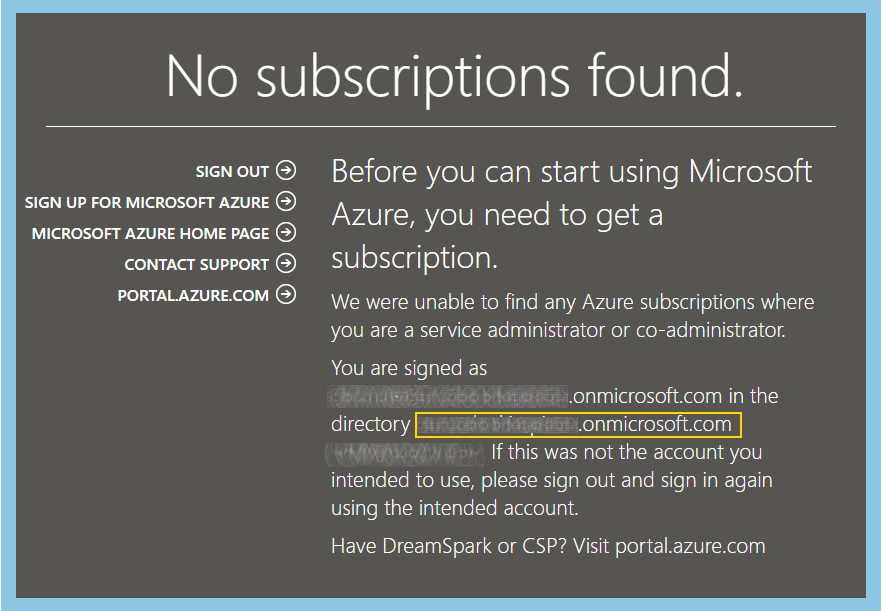
Even if your account is in multiple Active Directories, it is mandatory that you use the Active Directory that is associated with the subscription you want to document. Note that there is ONLY ONE Active directory that is associated to the subscription.
In order to find the directory, click on the settings menu and find the directory to use in the Directory column:

You can now go back to https://generate.cloudockit.com and specify your preferred tenant.
Note : This article has been updated to reflect the process on how to find the tenant name to generate the documentation. Here is the original Post:
CloudocKit now has a new authentication mechanism based on Azure Active Directory.
As we wanted to make the generation of Azure documentation as easy as possible, we have remove the need to create and upload a management certificate.
You can now use an Azure Active Directory account to connect to your subscription and generate the document. One important point to note is that the account needs to be global admin on the Active Directory and Subscription Co-Administrator. The document generation is a two steps process.
Step 1: Enter the Azure Active Directory Tenant
In this first step, you need to enter the Azure Active Directory full name that contains the login you want to use to generate the documentation. This Azure Active Directory must be linked to the subscription you want to document.
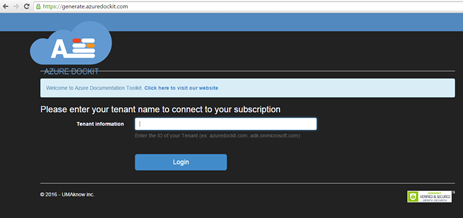
As an example, you should enter Microsoft Azure Active Directory tenant information like mytenant.onmicrosoft.com, nameoutlook.onmicrosoft.com or azuredockit.com if you have custom domain name.
Cloudockit’s diagram generator will save you time and money
Step 2: Select the Subscription You Want to Document
The powerful software also evaluates your own custom compliance rules to ensure a perfect set-up and also monitors all of your environments simultaneously. Cloudockit’s compliance rules engine allows you to create your own set of rules using a WYSIWYG interface with AND/OR logic and nested grouping. It also shows you human-readable properties and non-cryptic developer properties name.
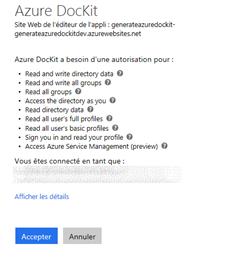
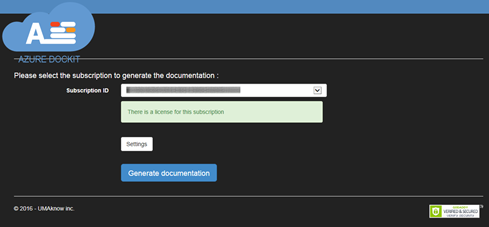
Once completed, select the appropriate subscription and click on Generate Documentation to create the documentation:
How to Create a User that Has the Required Privilege to Generate Documentation
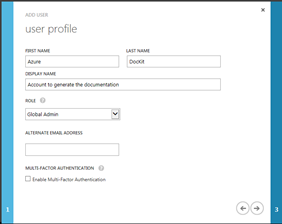
First, select the Azure Active Directory you want to use to connect to the subscription and click on “add user”.
Then enter the information required and select Global Admin as we want the user to be able to list all users, groups and everything else in the Active Directory.
Next, you need to add the user as a Co-Administrator on the subscription so that he gets access to everything in the subscription.
Go in the subscription settings:
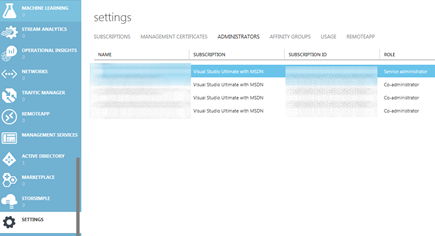
Click on “add user” and enter the user you have created in the previous step:
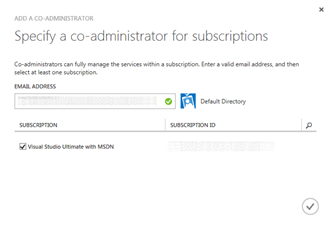
You are now ready to use this account to document your subscription.