Knowledge Base
Generate Documentation using your own template
Cloudockit generates detailed documentation of everything you have in your Cloud Environment, and also includes rich Visio diagrams. Wouldn’t it be nice to control the output document that Cloudockit generates, change your logo, add text, remove sections or even change colors? You can do it all. Let’s see how.
There are two methods to customize the template. The method you choose depends on the type of customization you want to achieve:
- Method 1 enables you to change the color, logo and styles but not the actual content of the template
- Method 2 (deprecating) also allows you to change the actual content of the template (like removing some sections or changing boilerplate text)
- Method 3 (preferred) allows you to select the sections you want displayed and in the order you select
Method 1: simple template
Create a Word document containing your cover page: a good place to put your logo, then add a background color if you need.
Adjust the Word styles to suit your needs (H1, H2, Normal, etc.)
Specify this Word document in the My Designs or Company Designs of the Documents page.
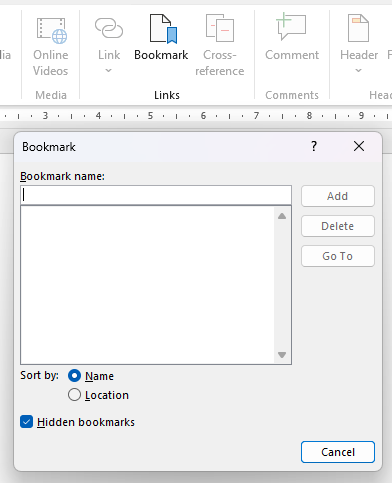
Important: make sure you don’t have any bookmark left by checking the following.
From the Insert tab, click the Bookmark button and empty the list of bookmarks (make sur the Hidden bookmarks checkbox is checked):
Method 2: advanced template (deprecated)
Cloudockit does not support this method anymore (from V25). Please use method 3 for best results.
Method 3: Tailored Documents
This method allows you to select the sections you want displayed and in the order you select.
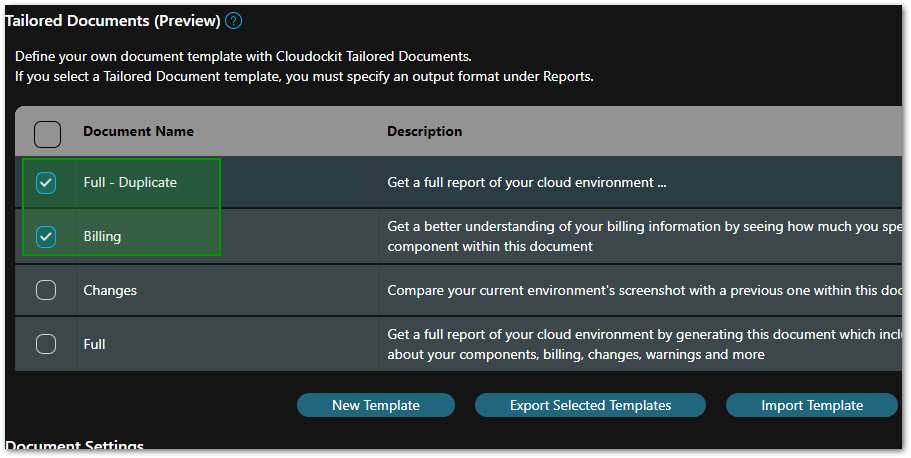
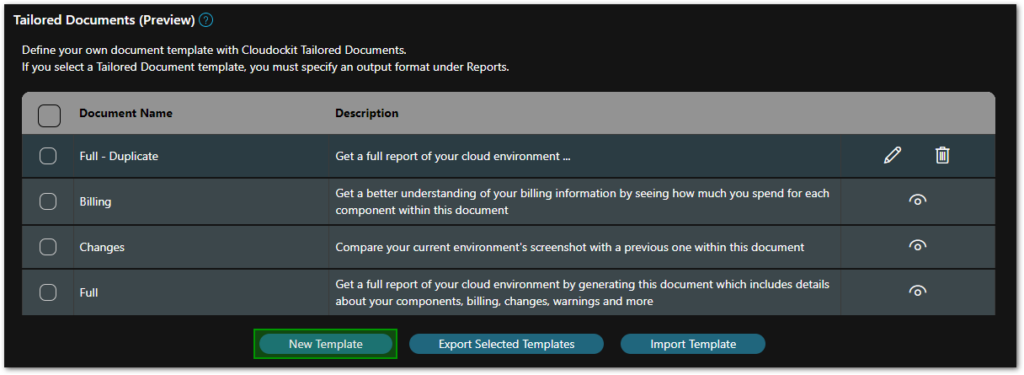
To create a template, go to the Reports page, under the Tailored Documents section and click on the New Template button:
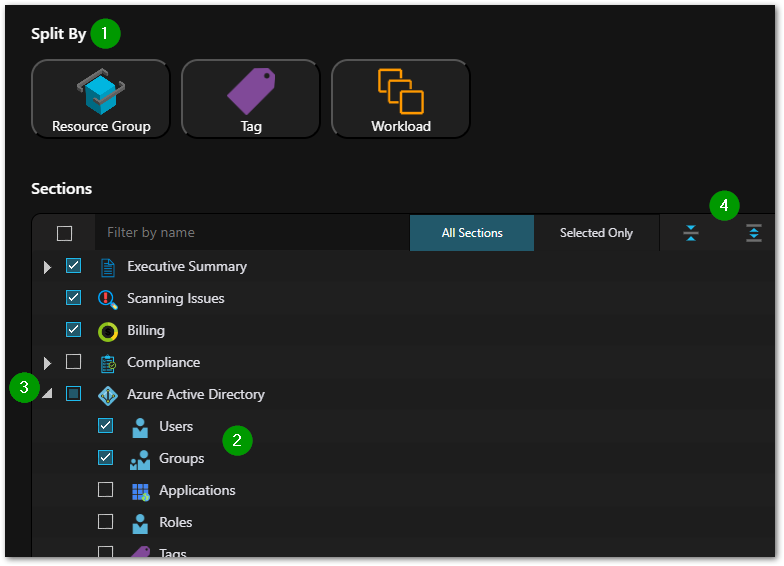
From the Tailored Document page, you can choose exactly what you want your report to contain:
- Split your report by tag or workload (or by resource group for Azure)
- Select only the sections that are relevant to you
- Move the sections up and down to display them in the order you want
- For convenience, you can click to collapse/expand all the available items in the list
In the Additional settings section, click the Automatically add upcoming workload sections checkbox if you want newly added workloads to be included by default in your reports. If you realize that one of these workloads is irrelevant to you, just go back to your tailored template and uncheck it.
You can then either save this template or duplicate it (equivalent to Save As) which is useful when starting up from one of the built-in templates.

Once you’ve completed your template, select the ones you want generated. They’ll turn up in your drop-off locations in a zip file (SharePoint drop-off allows you to have them unzipped in a folder, in order to be able to open them directly).