Knowledge Base
Drop Off in GitHub Repository
The purpose of this document is to provide the detailed steps to configure GitHub as a drop-off location for your Cloudockit documentation on the SaaS or the Desktop version.
Identifying the GitHub Repository
The first step is to identify the GitHub repository where you want to drop your documents.
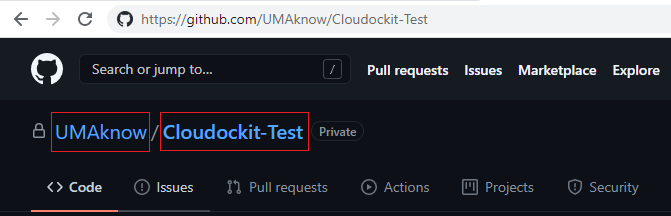
For the example, the repository we are going to use is Cloudockit-Test. UMAknow is the owner of this directory.
Select which branch you want to send the generated files to. The branch must start with “heads/” or “refs/heads/”. In our example we will use the main branch
By default, files will be sent to the root of the directory, but you can specify the full path of the folder where to send the generated files.
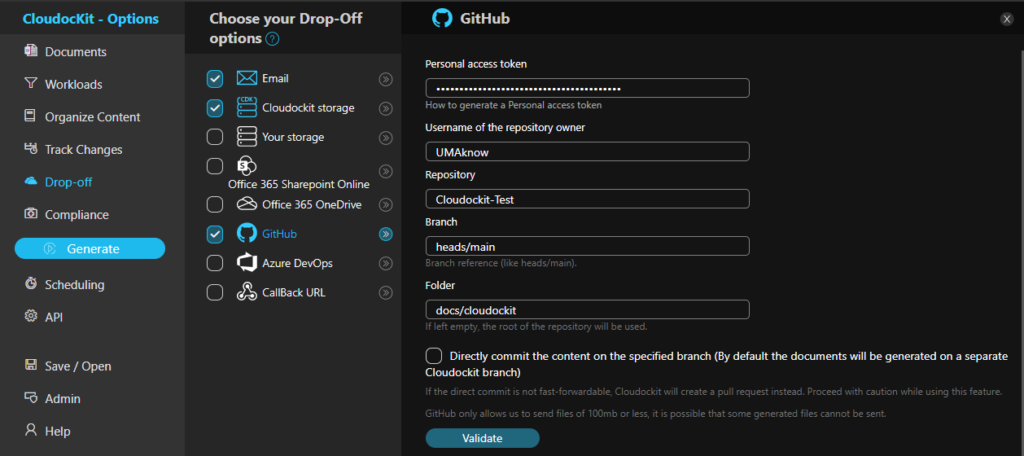
The information that be used in the Cloudockit drop off configuration is the following:
- Repository Owner: UMAknow
- Repository name: Cloudockit-Test
- Destination branch: heads/main
- Generation folder: “docs/cloudockit”
Creating a Personal Access Token
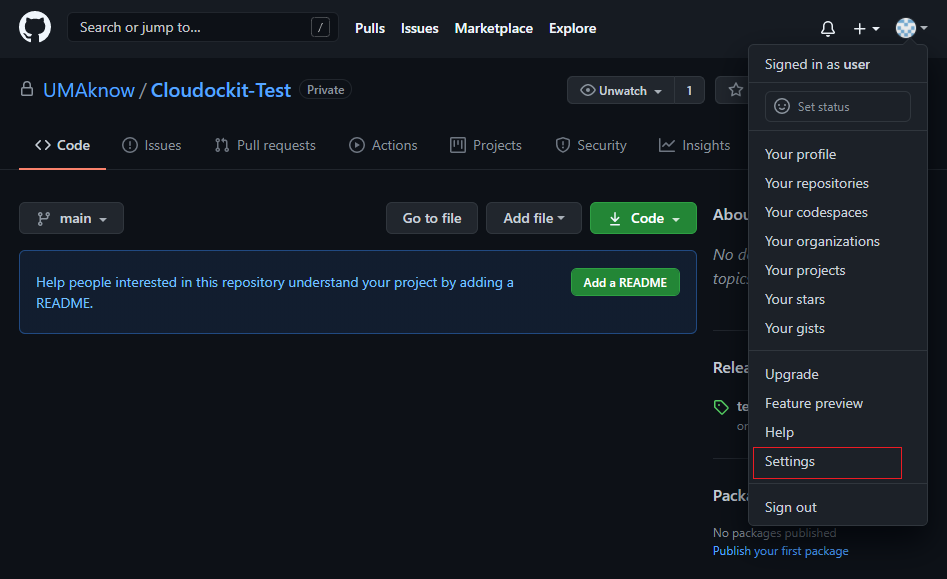
Make sure you are logged in with an account that has write access to the repository. In the top right corner of the website, click on your user icon to display a drop-down menu and select settings.
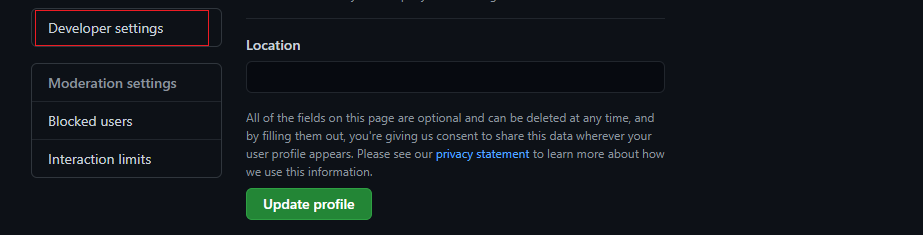
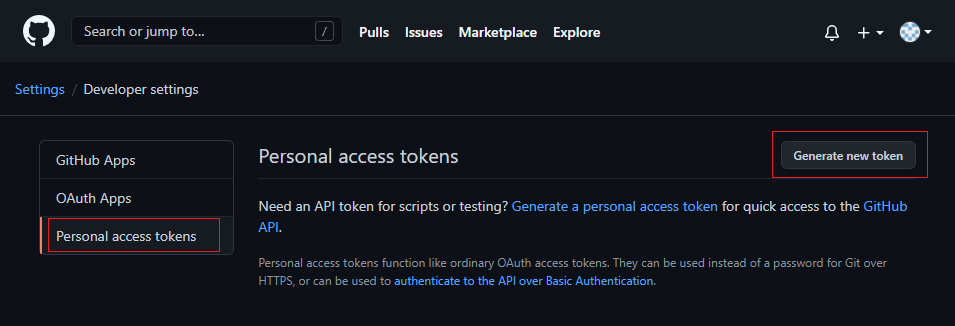
In the left menu, click on the Developer settings tab.
Select Personal access tokens.
Then click on the Generate new token button.
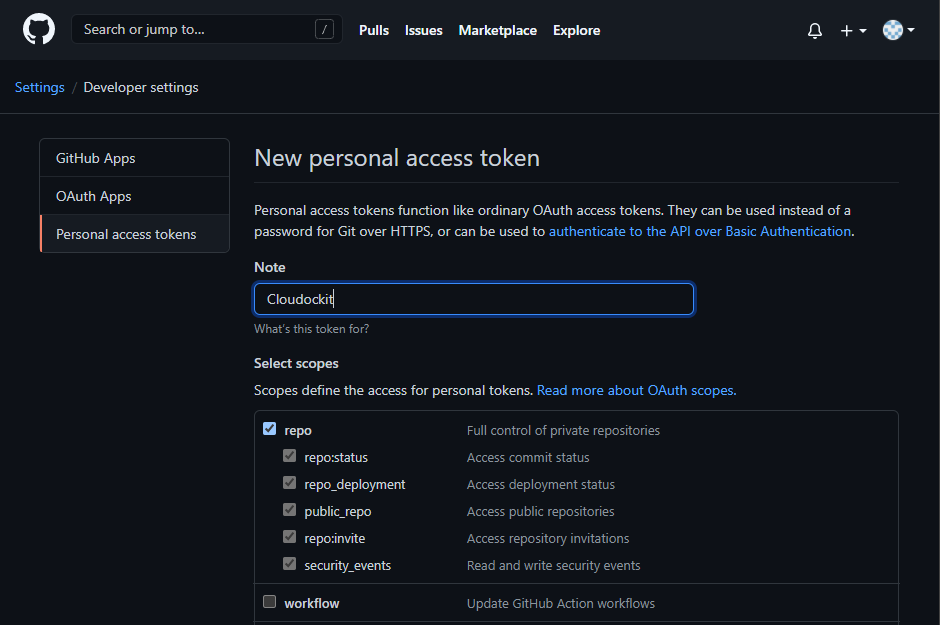
Give a name to your token, grant repo access and then scroll down and click on the Generate token button.
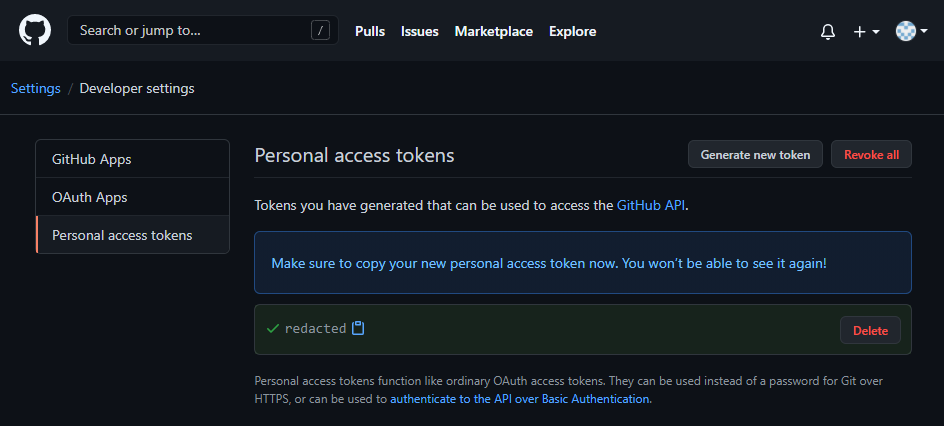
Copy your personal access token, it will be used when configuring the document generation in Cloudockit.
Configuration of the Drop Off
Connect to Cloudockit and select the platform of your choice.
Select Drop-Off from the left menu.
Check GitHub.
Make sure to uncheck other Drop-Off options that you do not need.
Fill in the Fields.
By default, Cloudockit creates a branch, pushes the generated document on this branch, and then creates a pull request from this branch up to the specified destination branch. There is a possibility to use direct commit and push on the specified branch. Use this feature only if you know what you are doing. The recommended practice is to use pull requests.
When you are ready, click Validate to test the connection with GitHub.
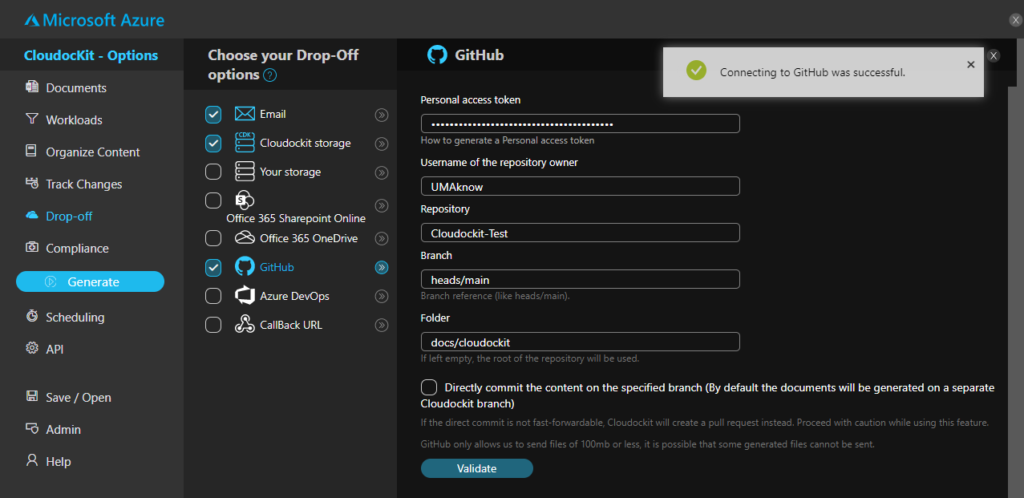
A message will display confirming the connection to GitHub was successful.
From there you are ready to launch your document generation.
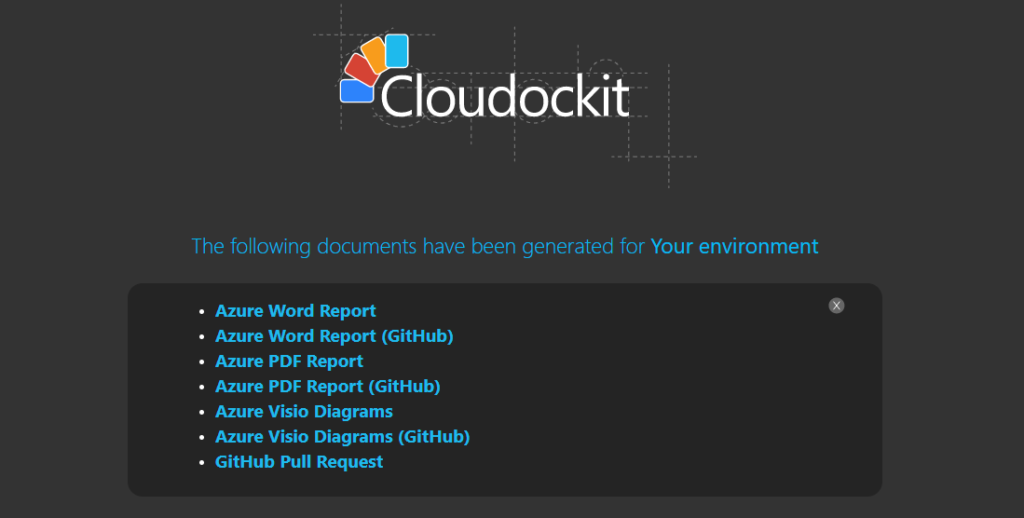
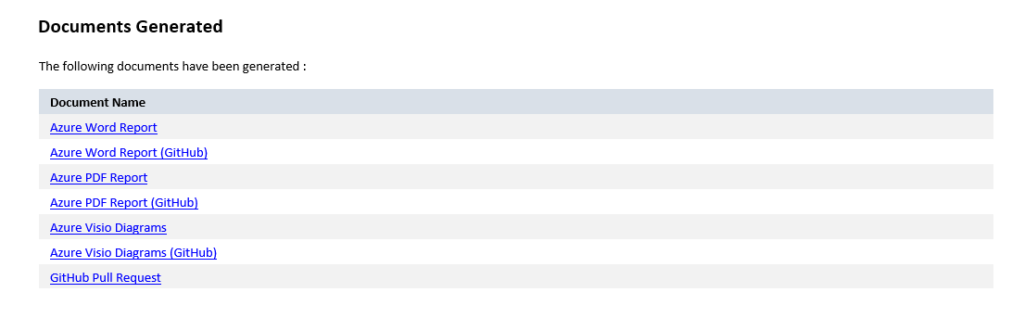
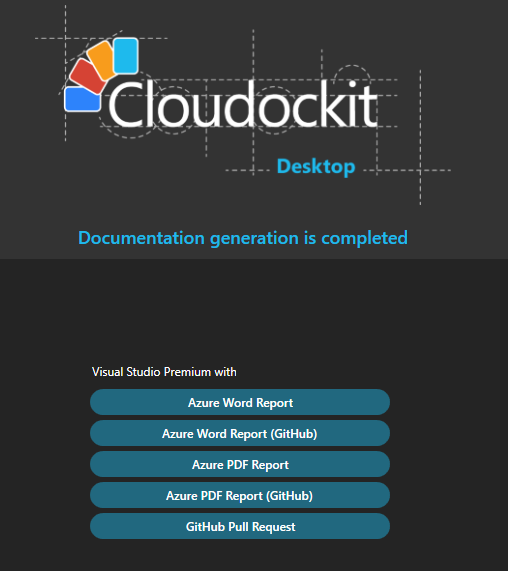
Accessing the Files
Once the generation is over, there will be links you can click that will open a new tab where the file is located. A link to the pull request will also be listed. A confirmation email will also have those links listed.
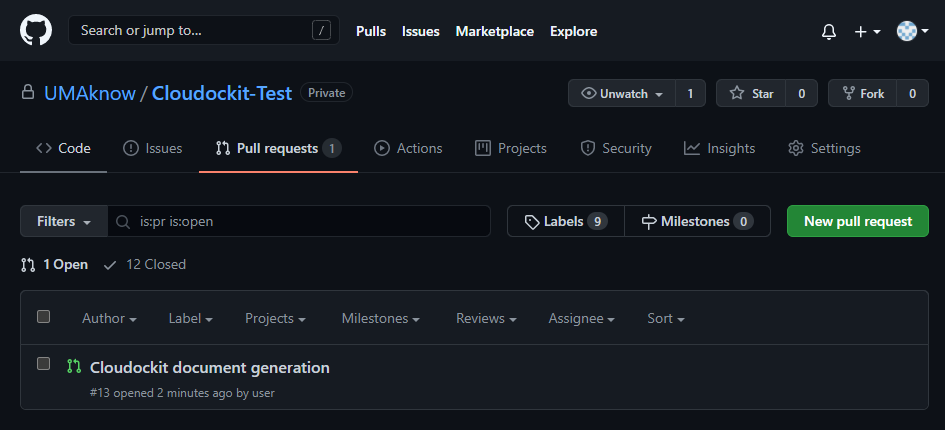
In our example, a pull request is now open and the Cloudockit branch contains the generated files.