Knowledge Base
IT Portal – Confluence
Getting Started – IT Portal Confluence
Cloudockit scans your cloud and on-premises infrastructures to obtain a full overview of your applications, resources, and stores the IT documentation into an IT Portal in Confluence.
The information is rendered in the Confluence UI, and organized by Application, Environment, and Resource Type.
Each Resource Type name is different depending on the environment.
You can provision your Confluence Space by using either Cloudockit Desktop or SaaS.
You can have information about the different cloud types in the same Confluence Space.
You can edit some fields and add labels at the resource/application/environment level to better organize your resources.
Pre-Requisites
To provision pages in Confluence, you need to have an account that has write-permissions in the Confluence Portal. That way Cloudockit will be able to create spaces, pages, and upload attachments to you Confluence Portal.
The following information is needed:
- Confluence URI : (i.e : https://example.atlassian.net/wiki ) Must end with .atlassian.net/wiki
- Username : The same username used to access your Confluence Portal.
- API Token : Security token provided by Confluence to access your Portal.
- Space Key : Space Key for the Confluence Space to Provision and/or upload your documents.
(No special characters/spaces. Only letters and numbers)
Provisioning Confluence IT Portal
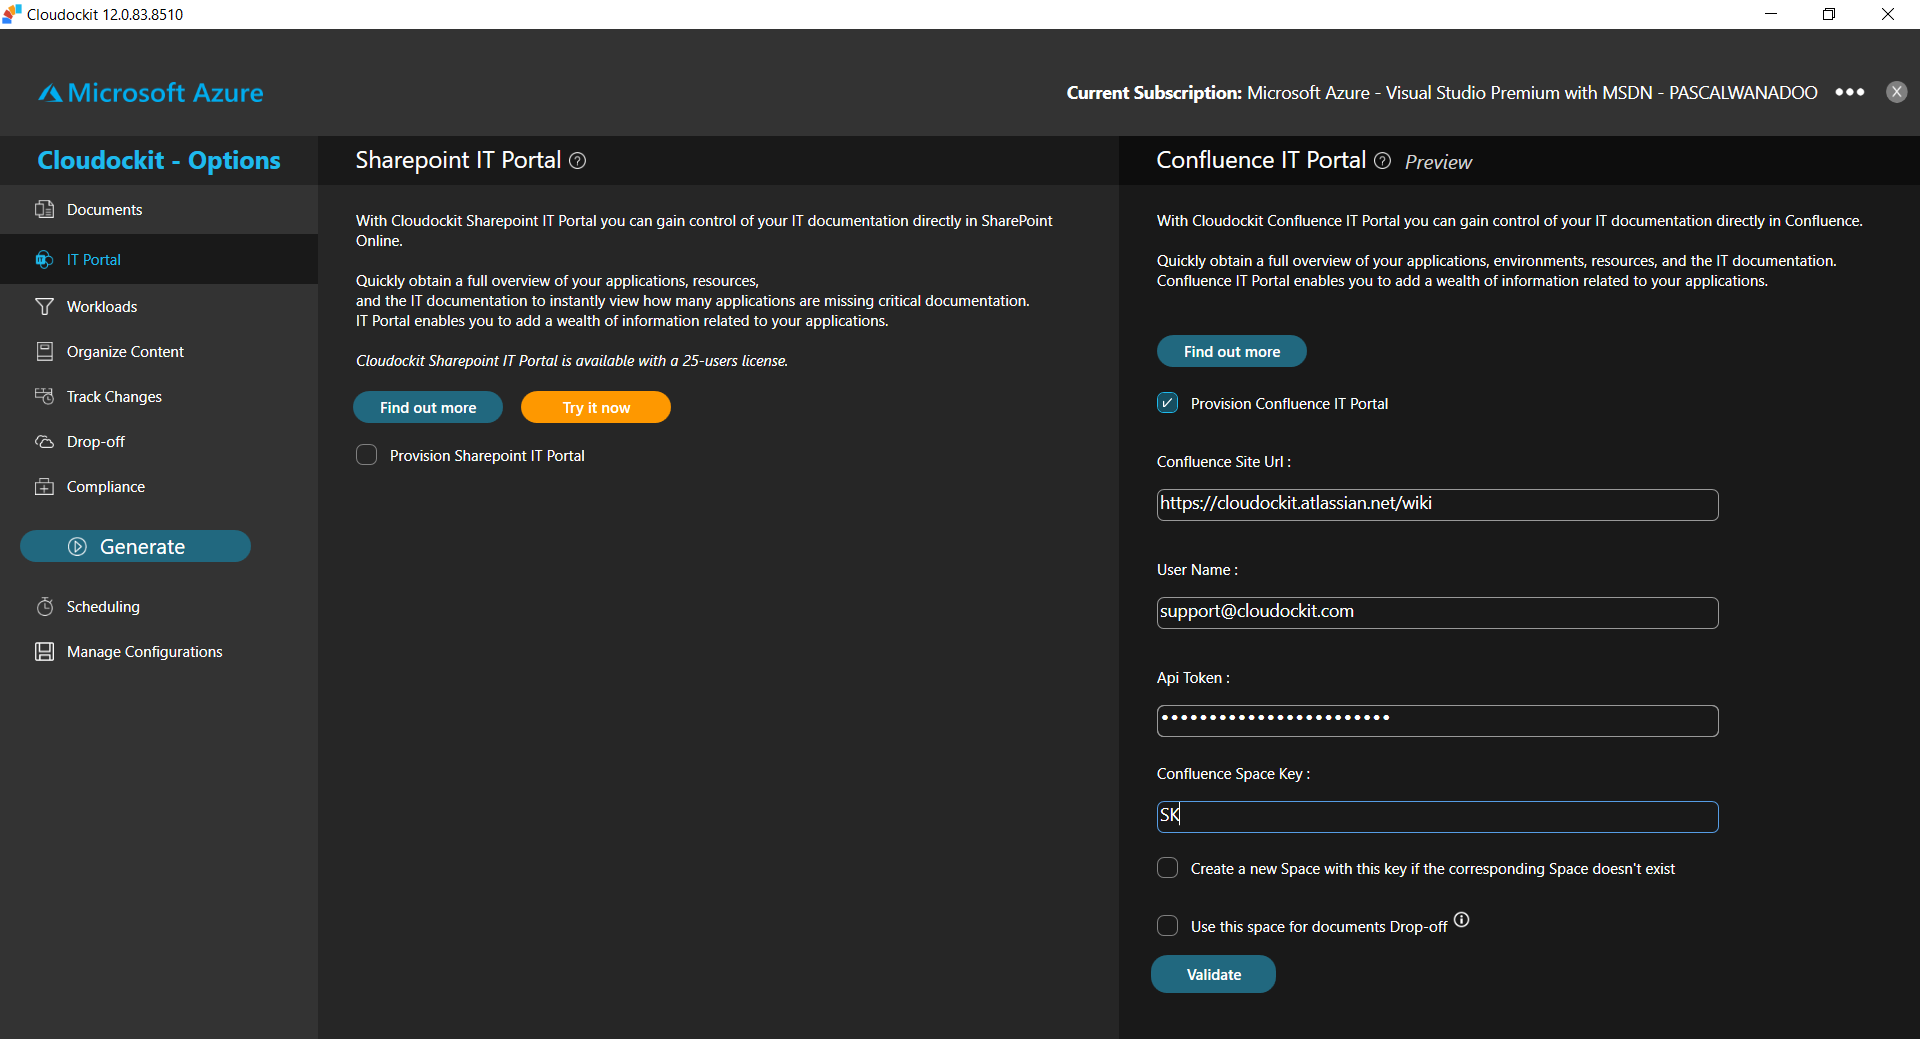
Using Cloudockit Desktop or SaaS, please follow these steps to provision your Confluence Portal:
IT Portal
- Launch Cloudockit and login to your Environment
- In the Settings screen, go to the IT Portal tab, then on the right section of the screen, click on the checkbox “Provision Confluence IT Portal”
- Enter the required information in the textboxes
- Before Validating, you have the options to:
- Create a new space with the entered Space Key (needs a permission to create a space)
- Drop-off your generated documents in this space
- Click on Validate to make sure your Confluence Portal is accessible with these credentials.
Documents Drop-Off in Confluence (optional)
If you have selected the option to Upload the documents in the previously set-up Space, this step is not necessary since the documents drop-off info for Confluence is automatically overwritten once validation is successful.
Otherwise, you can still use a different Space to Upload your documents:
- Drop-Off tab
- Select “Confluence Cloud”
- Enter the required information and click on Validate.
Organize your content
An important step to do is to Organize your resources by Application, to have the corresponding Applications displayed in your Confluence Portal.
Please note that this option is currently not available for:
- GCP with SaaS or Container, but will work with the Desktop version
- OnPremises, on all versions, since OnPremises does not support the concept of Application
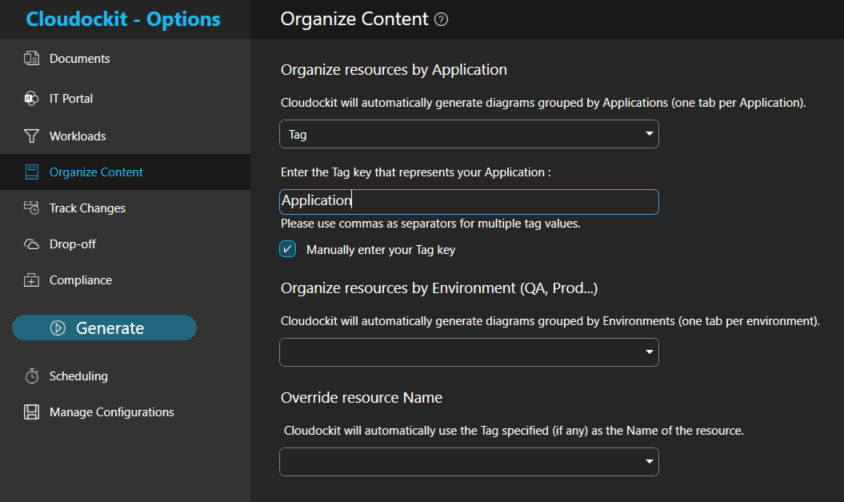
To do so, do the following:
- Organize Content tab
- Organize resources by Application
- Checkbox “Manually enter your Tag key”
- Enter the name of the Tag Key that represents your Applications in the textbox
Other settings
The previous steps are the minimum requirements to provision Confluence pages, and to upload the documentation there as well if needed.
You can choose any type of Workload to provision your Confluence Portal from the “Workloads” tab.
Please note that the “Billing” workload is not available yet to be displayed in Confluence. You can still find your billing information in the generated documents.
Confluence IT Portal
General structure
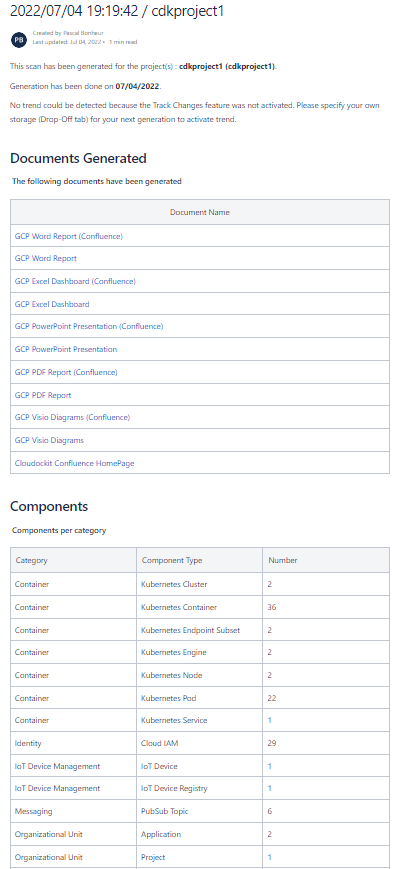
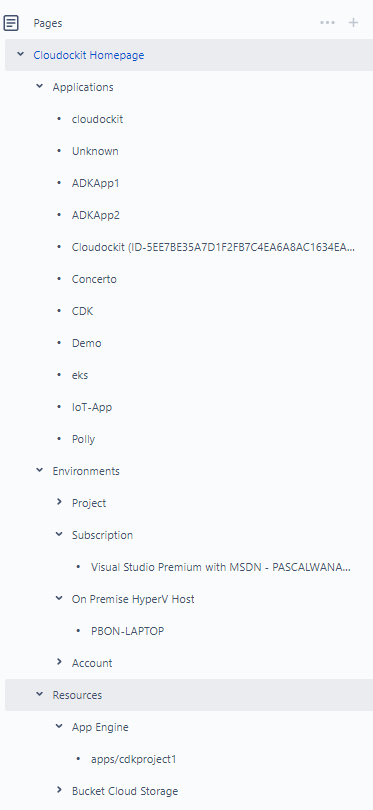
Once document generation is done, you can navigate the pages in your Confluence Space using the left panel, organized as follows:
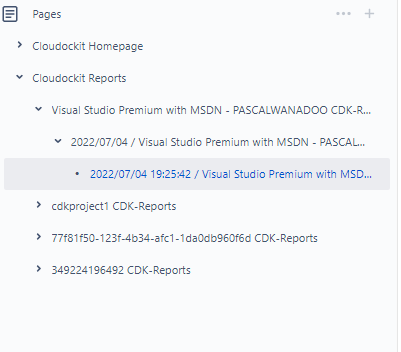
Your reports will be in a different section (outside of “Cloudockit Homepage”)
Reports pages are organized by Environment, Day, and time, that way you can see the documents generated at any given point.
Parent Pages Details
Confluence Homepage/Applications/Environments/Resources
This page is the first one in the list. It displays an overview of the available Applications and Environments
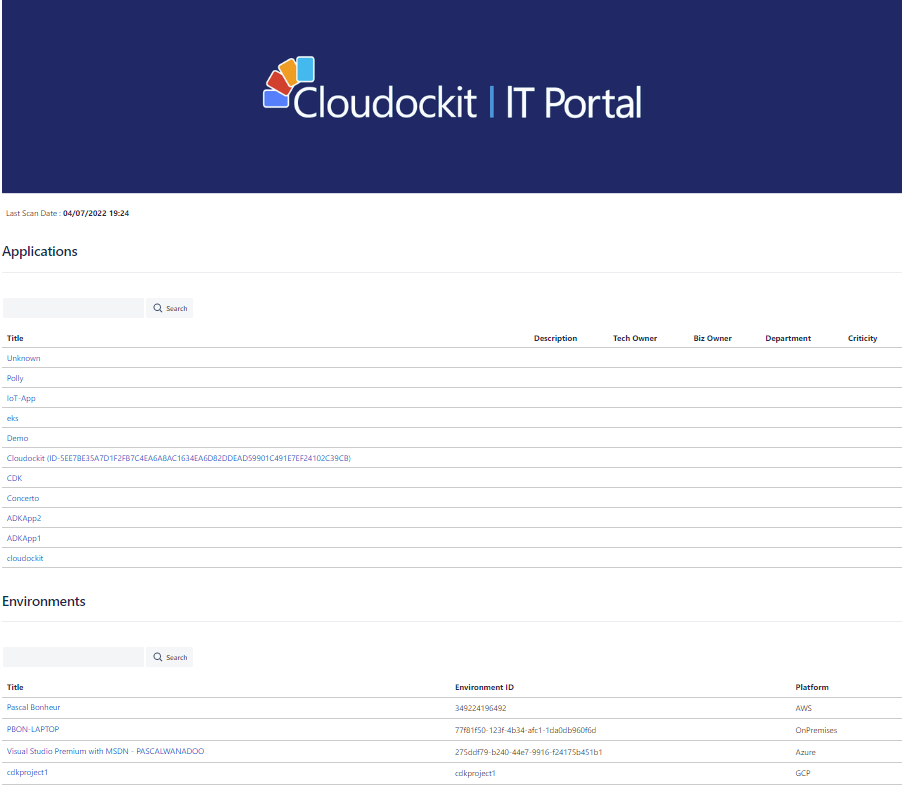
Similarly, the Applications page will display the list of all available Applications, and the Environments page will display the list of all available Environments.
The Resources page will display the list of all the resources, for a better view of all the resources.

In each parent page, the children pages can be searched by title or by label from the search box, and the list can be sorted by clicking on the corresponding column.
Children Pages Details
Application Page
An Application page contains the following sections listed in the page’s table of content.
Each page section is accessible by clicking on the corresponding link.
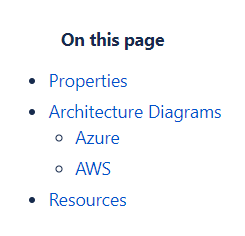
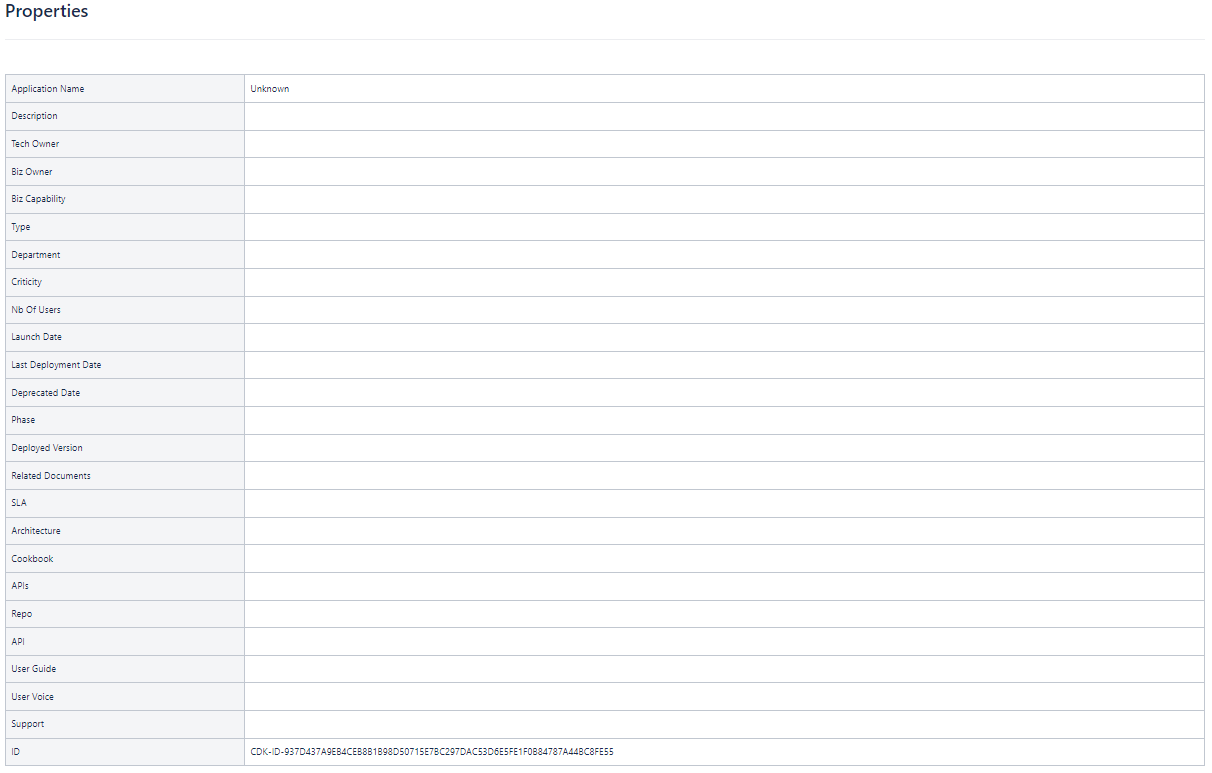
Properties
Properties of the Application is the list of all the properties that help identify and categorize your Application.
The fields “Application Name”, and “ID” are overwritten during each scan since they are always provided by Cloudockit during a scan. All the other fields can be manually edited, and they won’t be overwritten in a scan, unless a non-empty value for those fields becomes available during a scan.
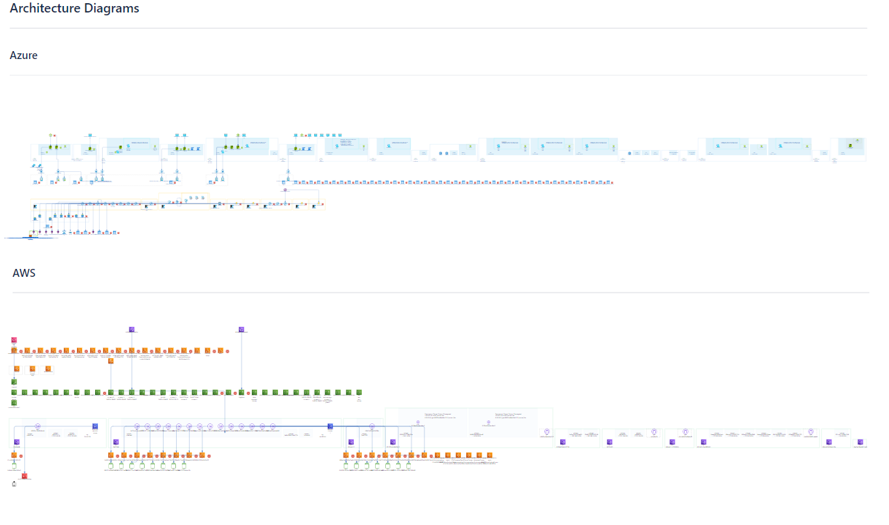
Architecture Diagrams
The draw.io diagram representing all the resources linked to the current Application.
For the Application Diagrams, please note that:
- If you have the same Application name across different cloud platforms, the different diagrams will be present here and listed by cloud provider (1 diagram per Cloud Platform)
- If you have the same Application name across different environments within the same cloud platform, then the Application diagram of the latest scanned environment is the one that will be displayed. If you have multiple environments in your cloud platform, it is recommended to choose the option “Generate a single document for all environments” in the “Organize Content” tab to have a single Application diagram displayed for all those environments.
Resources
Lists the resources linked to the Application (across all your cloud platforms and environments)
Resources can be searched using the search box (by title or label)

Environment Page
Like the Application Page, the Properties, Architecture Diagram, and Resources sections are present.
There is no separation of the diagrams by cloud platform here since this is at the Environment level.
The diagram here is a representation of the resources within the current environment.
Resource Page
The resource page contains details about the current resource.
For example, by navigating to “Resources” -> “Virtual Machine” -> some virtual machines in the list.
The following table of content is displayed at the top of the page:
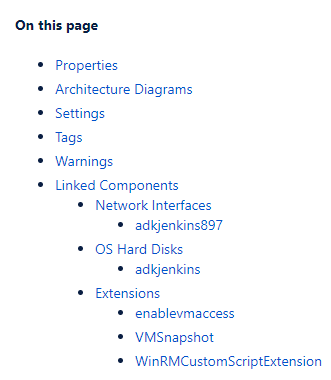
The sections detailed at the resource-level page are:
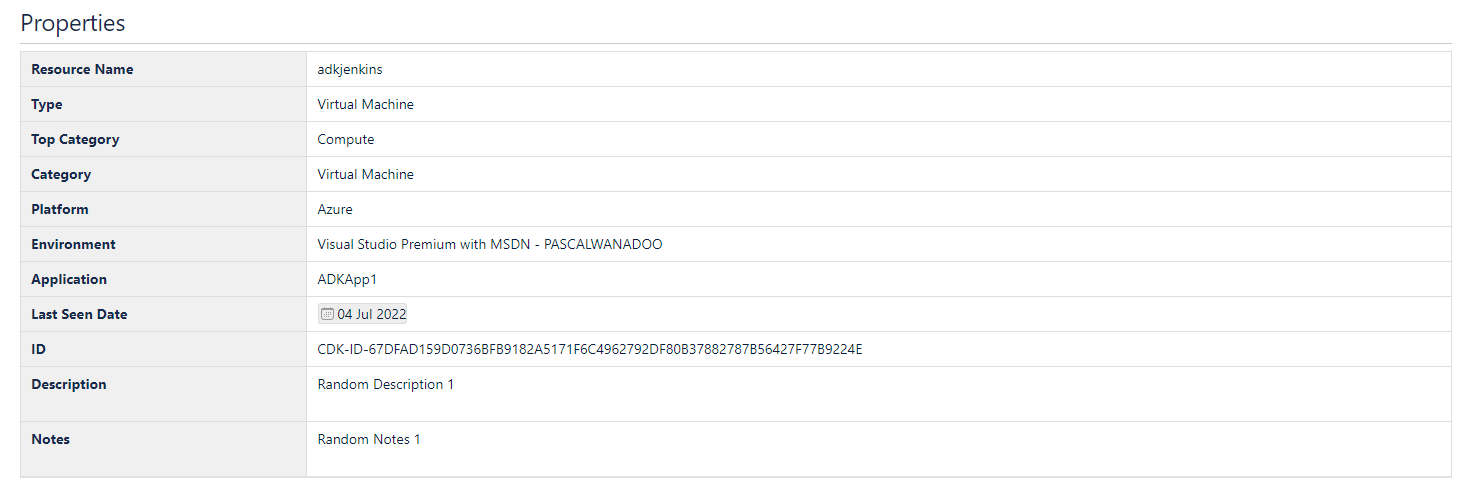
Properties
These are the high-level properties of the resource, extracted during the scan.
“Description” and “Notes” fields can be edited and won’t be overwritten in subsequent scans if the values returned by the scan for those fields are empty.
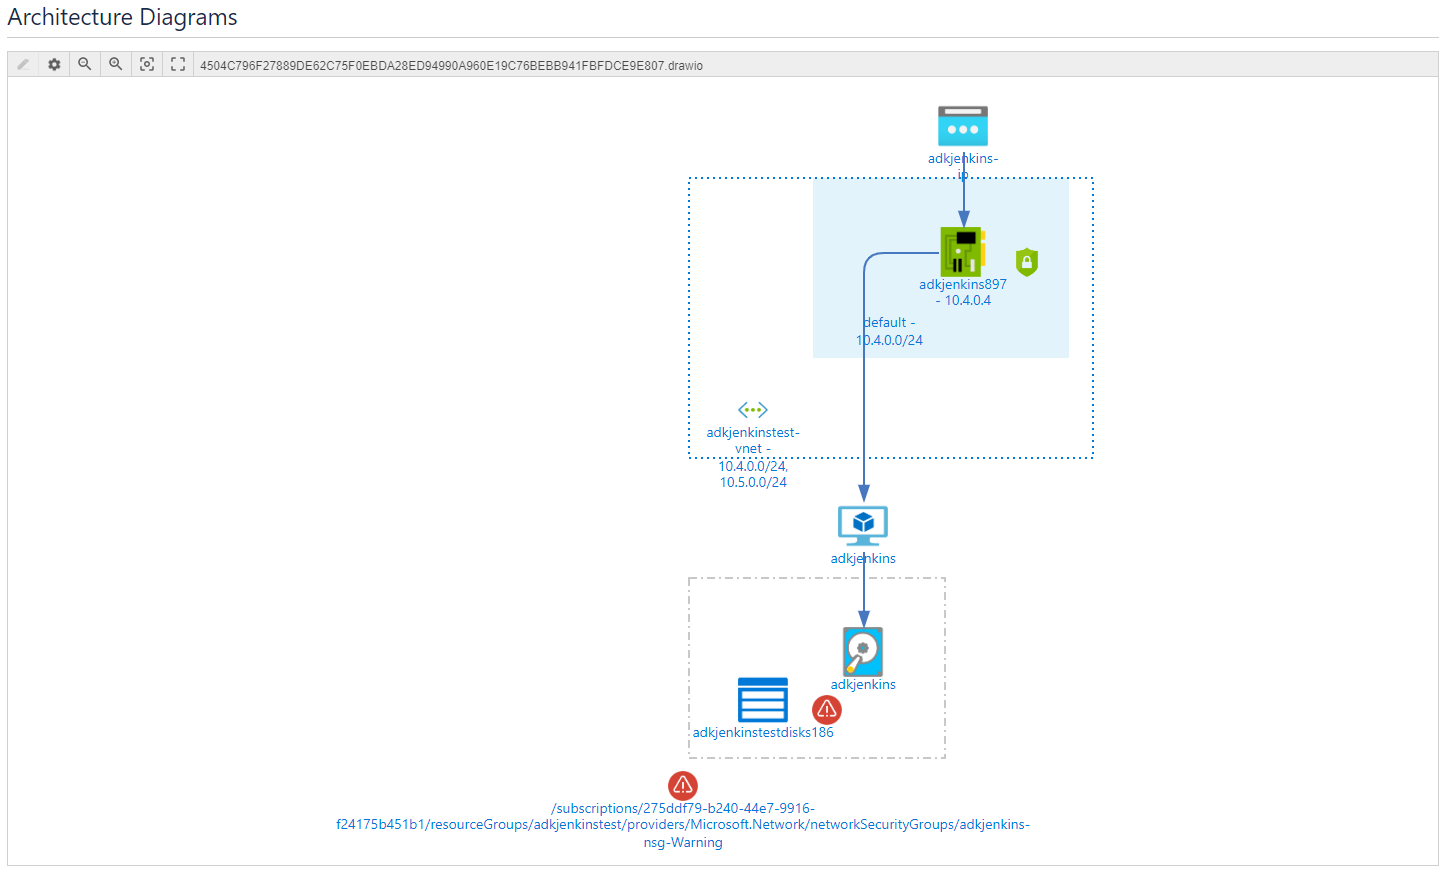
Architecture Diagram
The draw.io diagram of the resource and its linked components and warnings when applicable.
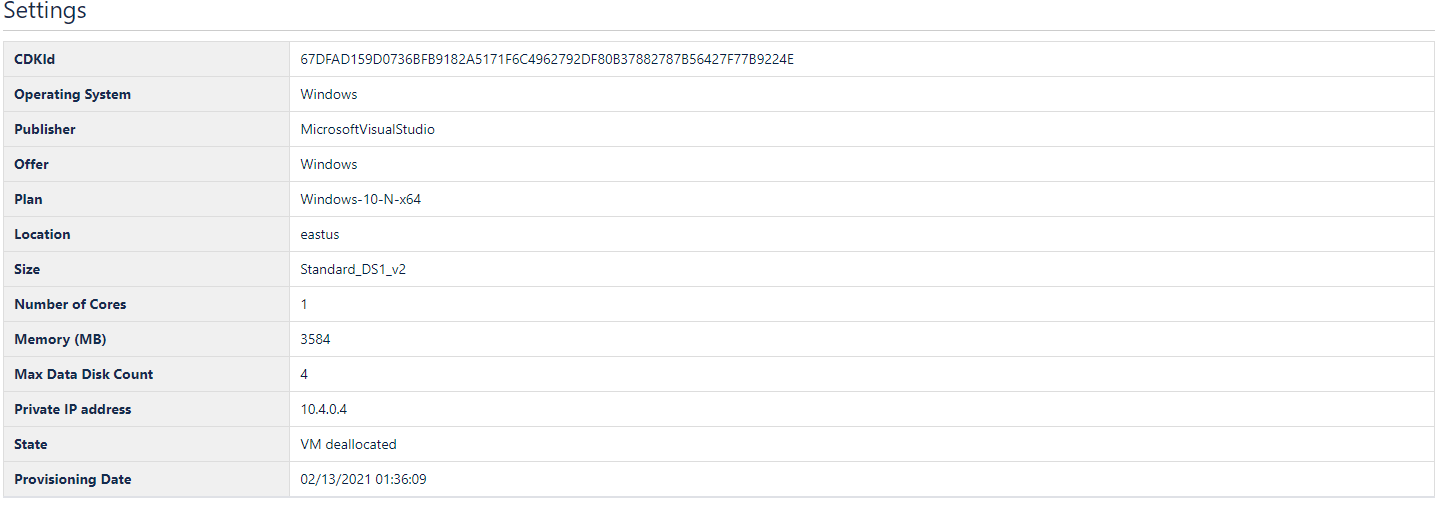
Settings
The settings specific to this resource type including the unique CDKId of the resource
 Tags
Tags
The tags associated with the resource

Warnings
The different types of warnings computed for this resource by Cloudockit.

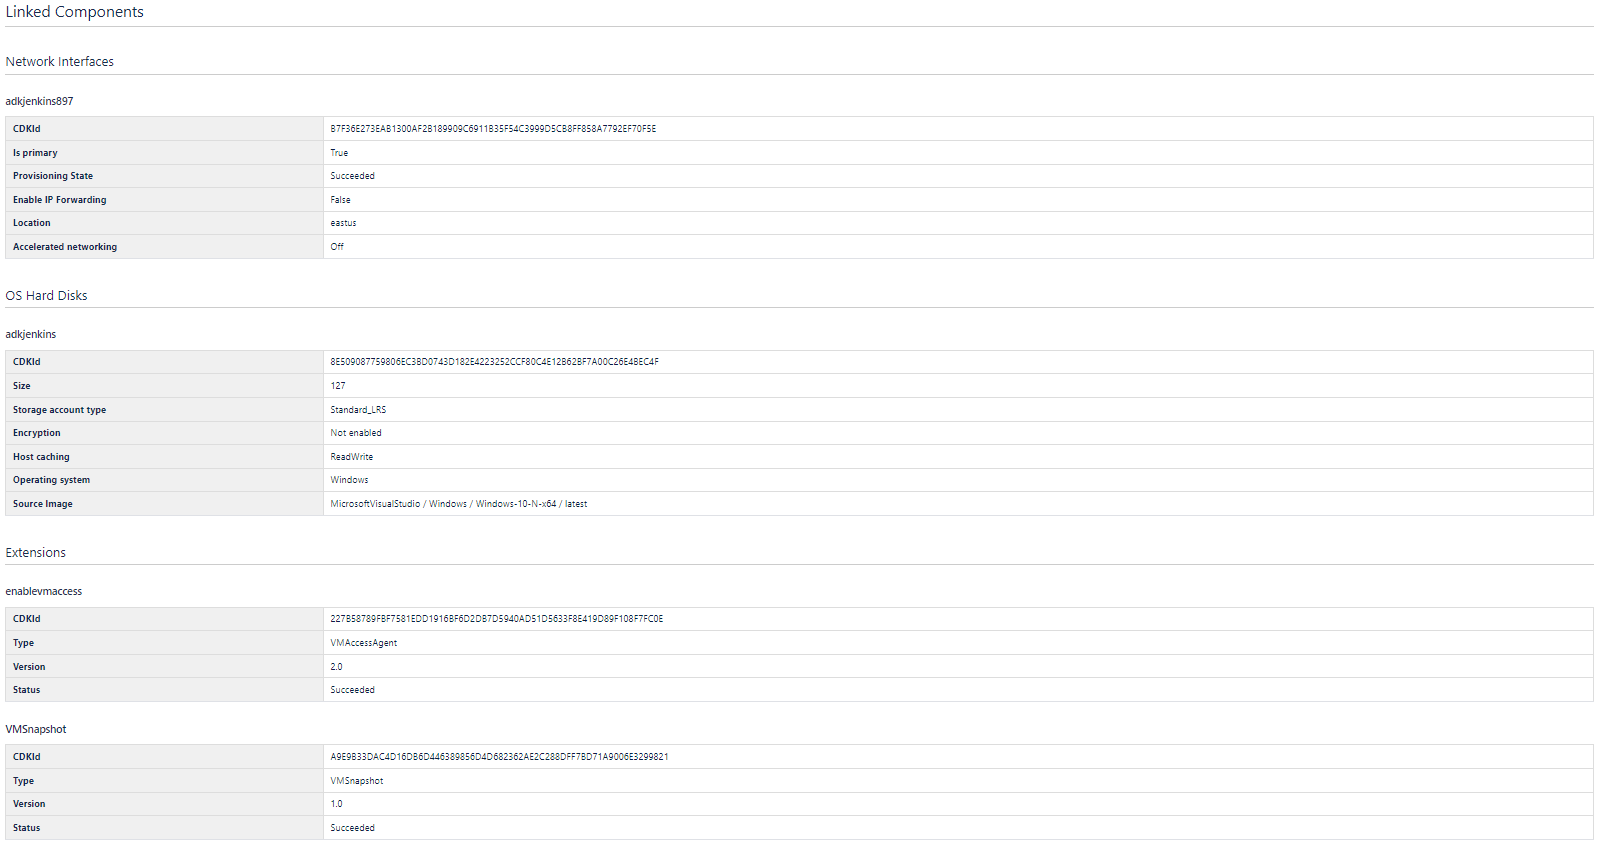
Linked Components
The list of components linked to the current resource with minimal details.
These components are not necessarily listed among the Resources in Confluence Portal, since they are secondary resources created to be attached to the main resource. (i.e when creating a virtual machine in Azure, an OS Hard Disk is automatically created as well, a network interface is attached to the VM, etc.)
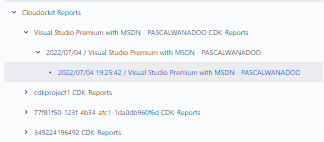
Reports Page
If you selected the option to drop-off your generated documents in your Confluence Portal, you can find your documents under section “Cloudockit Reports” and navigate to the corresponding Environment and date.
The reports page content is like what you receive in your email when a document generation is done.