

Knowledge Base
Schedule Documents & Diagrams Generation
Cloudockit generates documents, reports, and diagrams for your environment, therefore, you no longer need to do it manually.
Once you start using the product, the next step is to schedule automatic document generation. You will no longer need to visit the Cloudockit website and manually trigger document generation.
Cloudockit supports different methods to schedule your generation:
- Cloudockit Desktop: use the application interface to setup scheduled scans; they will start automatically as long as your machine is On;
- Cloudockit Container: use the web browser interface to setup scheduled scans
- Cloudockit API: call a REST endpoint to start your document generation;
Let’s have a look at these options in detail.
Cloudockit Desktop
Once you’ve started Cloudockit (for Azure, log in with an AAD Application to enable scheduling), setup the configuration you want the scheduled scans to run on: choose the report formats, their contents, their options, do the same for the diagrams, then select the Workloads, the filters, etc.
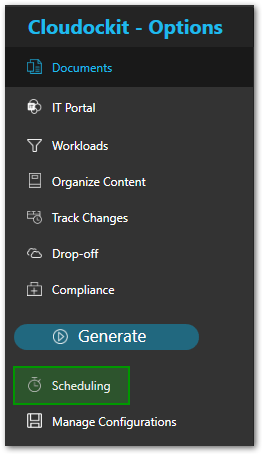
Once the configuration is setup, click on the Scheduling menu:
In the Scheduling page, select the scan period: Minutes, Hourly, Daily, Weekly, Monthly and setup the corresponding details. On the right side of the screen, you’ll see the 5 next scheduled dates:

Once the period is set, simply enter a description in the corresponding field and click on the Save Schedule button:

From that page, you’ll have the possibility to view/edit/delete your schedules:

Note: from the start-up page (before login in), you also have the possibility to view your schedules from the View all schedules page:
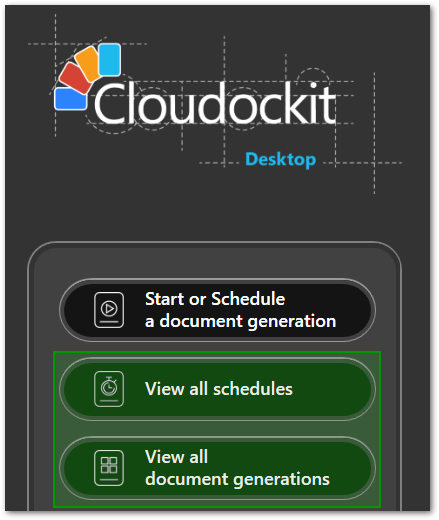
The View all document generations page will also allow you to view the reports/diagrams previously generated automatically.
Schedule Scan status
When viewing the document generations page, you will see a status for each scheduled scan. For each scan, you’ll see the Last Status information:
- Running: the scan is currently running
- Failed: the scan failed and the reports have not been generated
- Stopped: the scan was manually stopped
- Successful: the scan succeeded
- Inaccessible: the scan status is unknown and the reports cannot be retrieved
- this can happen if the folder where the reports were created was deleted or moved or if the cloud storage is unreachable
- Partially failed: only some subscriptions/accounts/projects were successful
Cloudockit container
Once you’ve browsed to your Cloudockit container URI, select your platform (for Azure, log in with an AAD Application to enable scheduling), setup the configuration you want the scheduled scans to run on: choose the report formats, their contents, their options, do the same for the diagrams, then select the Workloads, the filters, etc.
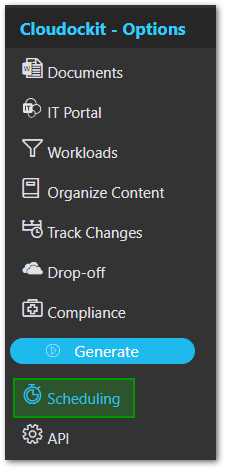
Once the configuration is setup, click on the Scheduling menu:
In the Scheduling page, enter a Schedule Name and a Schedule CRON (Creator and Tenant fields will be automatically populated later):
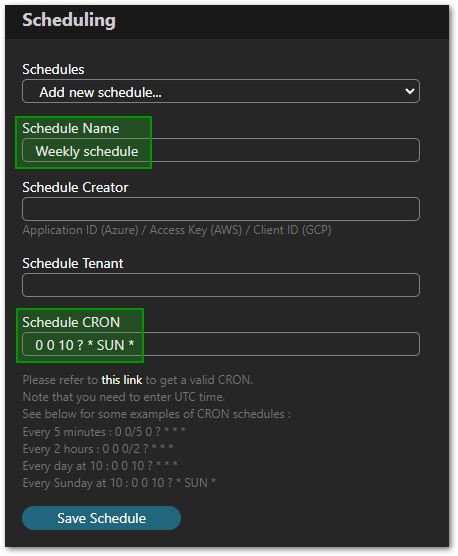
CRON help page can be found with this link: https://www.freeformatter.com/cron-expression-generator-quartz.html
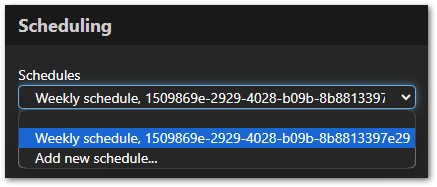
To review your schedules, use the dropdown at the top of the page:
Cloudockit API
Using Cloudockit API allows you to automate document generation using your own conditions, specifications and integrate Cloudockit in your processes and applications.
The Cloudockit API works for both the SaaS and Container versions. Be aware, though, that the SaaS version will limit the number of successful weekly calls you make. This limit depends on the license you have. For more information, please contact [email protected].
Please refer to this link for more information about using Cloudockit API: https://www.cloudockit.com/knowledge-base/cloudockit-api/