Knowledge Base
Enterprise – Azure
Introduction
The purpose of this document is to provide the detailed steps to install and configure Cloudockit Desktop in an optimal way so you can get going as quickly as possible with your automated documentation generation for your Azure environment.
Cloudockit desktop can be installed in many ways. On a workstation, on a server, or on a virtual machine.
Based on our experience, we have identified that the optimal way is to create a virtual machine using the image available on Azure Marketplace which includes Cloudockit Desktop.
Step 1 – Creating the virtual machine
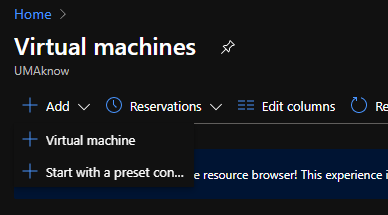
Connect to the Azure portal and go to Virtual Machines
From the Virtual Machines page, click Add in the upper left corner and then Virtual Machine.
BASICS
Project details
Add the Virtual Machine to the Resource Group of your choice.
Instance Details
Virtual Machine Name: Name your virtual machine
Region: Select Region
Availability options: Select from the drop-down.

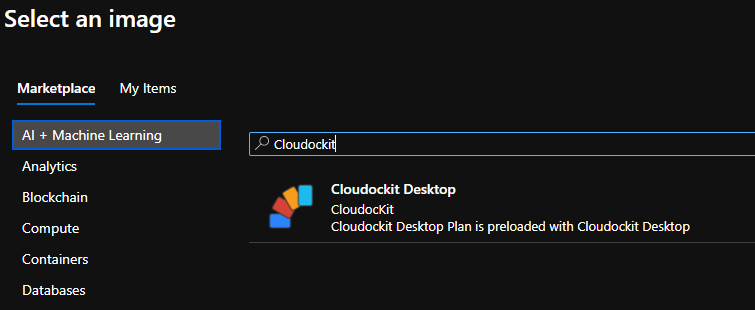
Click on Browse all public and private images
In Select an image, enter Cloudockit in the search bar and select Cloudockit Desktop.
Azure Spot Instance: No
Size: Standard_A2_v2 – 2vcpus, 4 GiB memory (Suggested)
Administrator Account
Define the Username and Password
Inbound port rules
Public Inbound ports: Allow selected ports
Select Inbound ports: RDP (3389)
Licensing
Would you like to use an existing Windows Server license? Based on your own preferences.
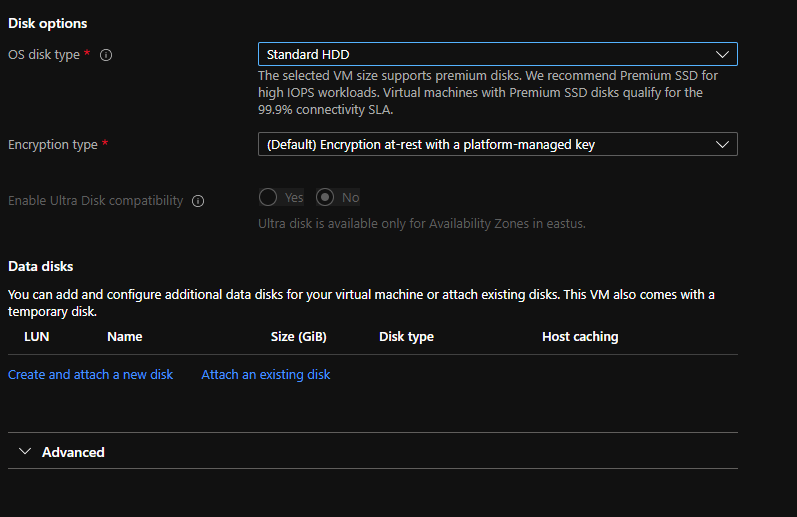
Click on Disk
DISKS
Click on Networking
NETWORKING
Network Interface
Define the configuration as shown in the image below.
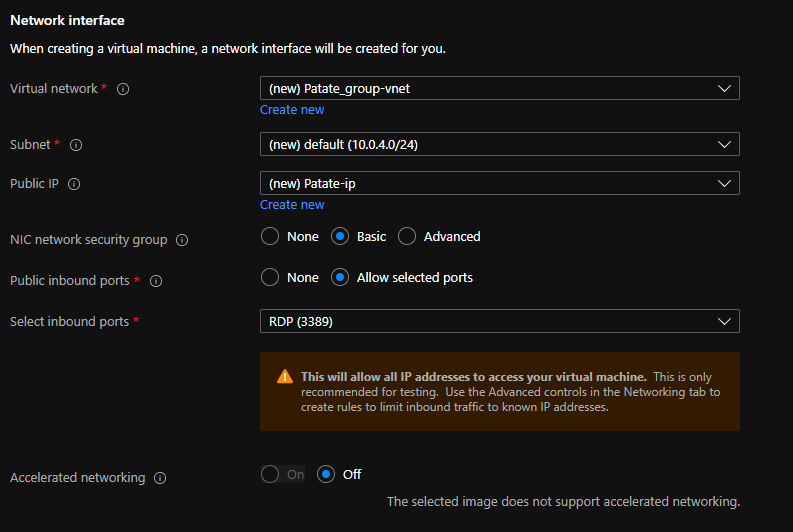
Note :
- This setup with the Public IP can be done in different ways depending on your environment. If you have an isolated Virtual Network with a Jumpbox to access your virtual machines, you can absolutely use that instead of the Public IP
- If you use the Public IP, we strongly recommend that you activate the Just In Time Access to add additional security
Load Balancing
Do you want to place this virtual machine behind an existing load balancing solution?: No
Click on Management
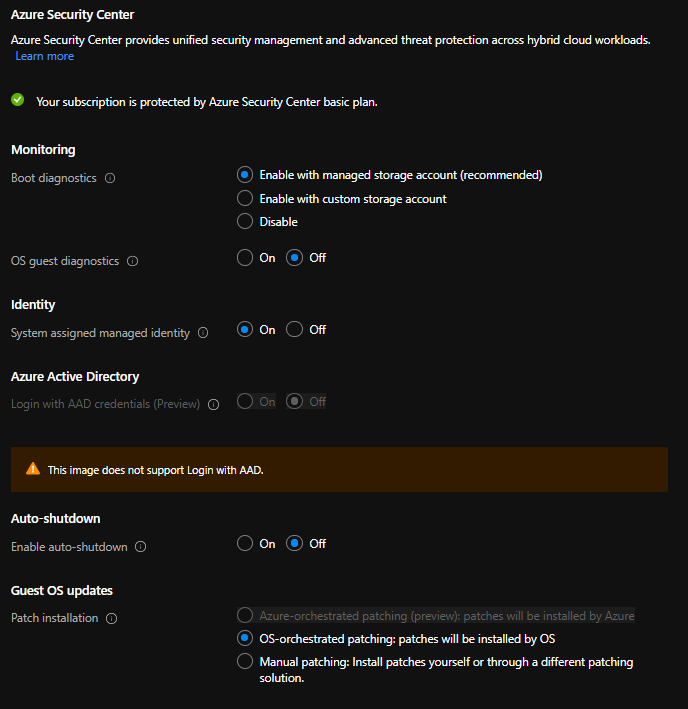
MANAGEMENT
Define Management as shown in the image below.
Click on Advanced
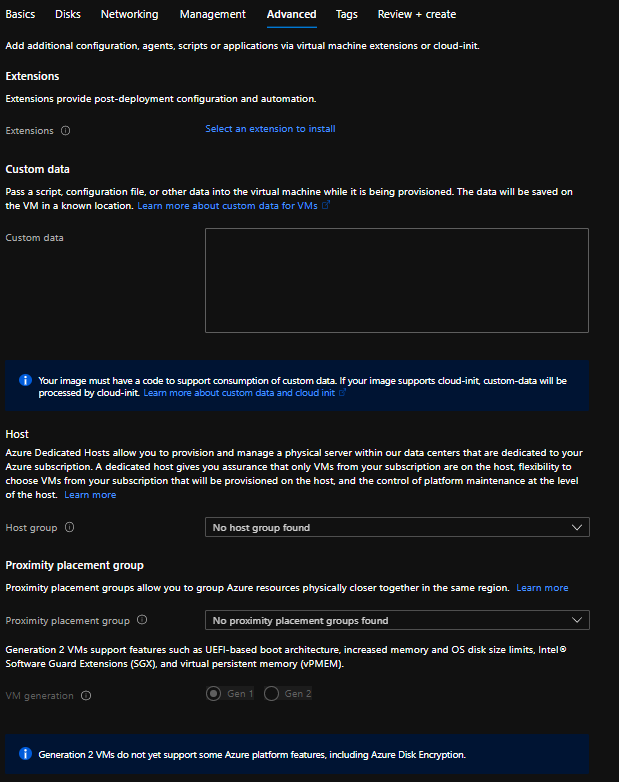
ADVANCED
Define the Advanced tab as shown in the image below.
Click on Tags
TAGS
Define tags based on your organization’s tagging policy.
Click on Review + Create
REVIEW AND CREATE
Review the parameters of the virtual machine and click on Create.
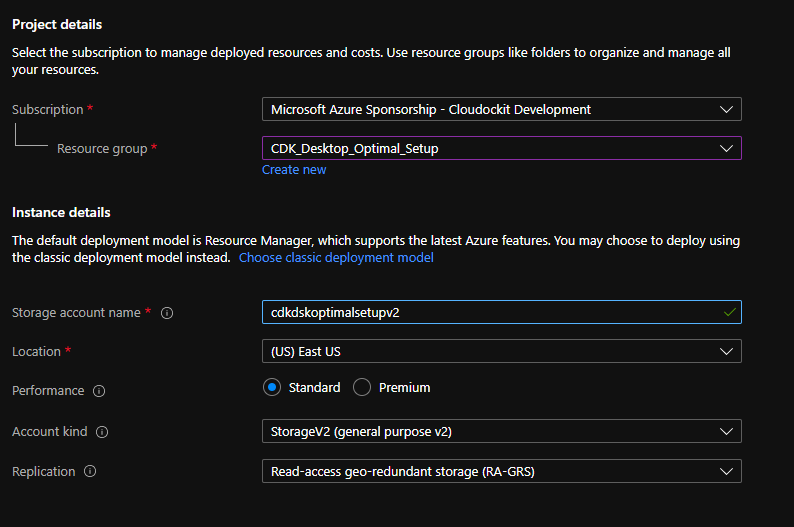
Step 2 – Creating the Storage Account
The Storage Account will allow you to save the documentation that you create and be available to employees in your organization.
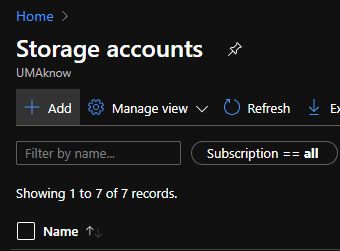
From the Azure Portal, select Storage Accounts
Click on Add in the upper left corner.
BASICS
Define the Basics section as shown in the image below.
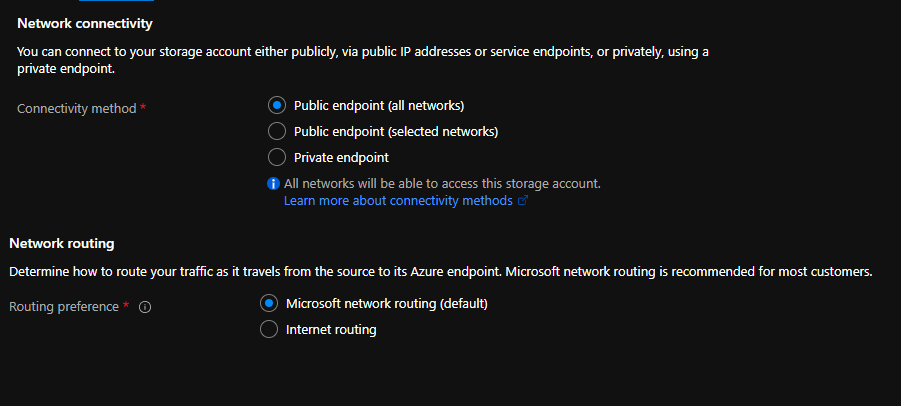
Click on Networking
NETWORKING
Define the Networking based on your organizations’ policies.
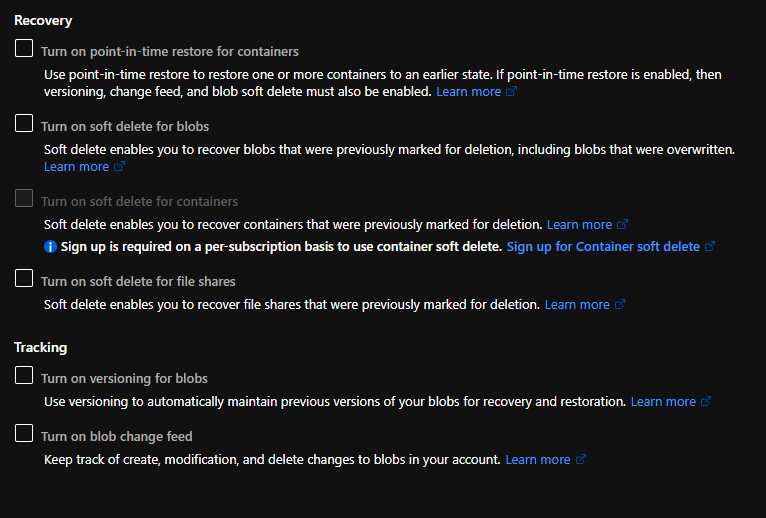
DATA PROTECTION
Define the Data Protection based on your organization’s policies.
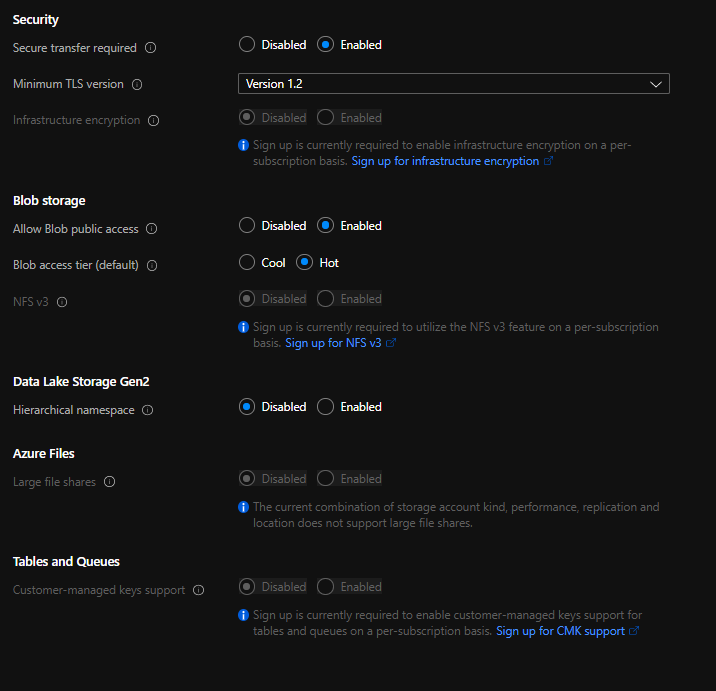
Click on Advanced
ADVANCE
Define the Advanced tab as shown in the image below or based on your organization’s policies.
Click on Tags
TAGS
Define Tags based on your organization’s tagging policy.
Click on Review & Create
REVIEW & CREATE
Review the parameters of the virtual machine and click on Create.
Step 3 – Giving the Proper Permissions
By enabling System Assigned Managed identity, it gives you the possibility to add permissions to the virtual machine instead of giving them to a user or a service principal.
The advantage of adding permissions to a virtual machine is to start document generation on new subscriptions without having to do any manual configuration in Cloudockit Desktop.
GIVING PERMISSIONS TO THE VIRTUAL MACHINE ON YOUR SUBSCRIPTION
The only access needed to generate documentation with Cloudockit Desktop is “reading” privileges.
Access the subscription you want to give access to.
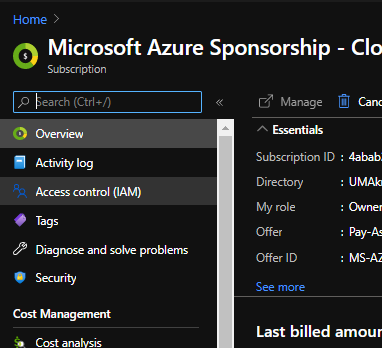
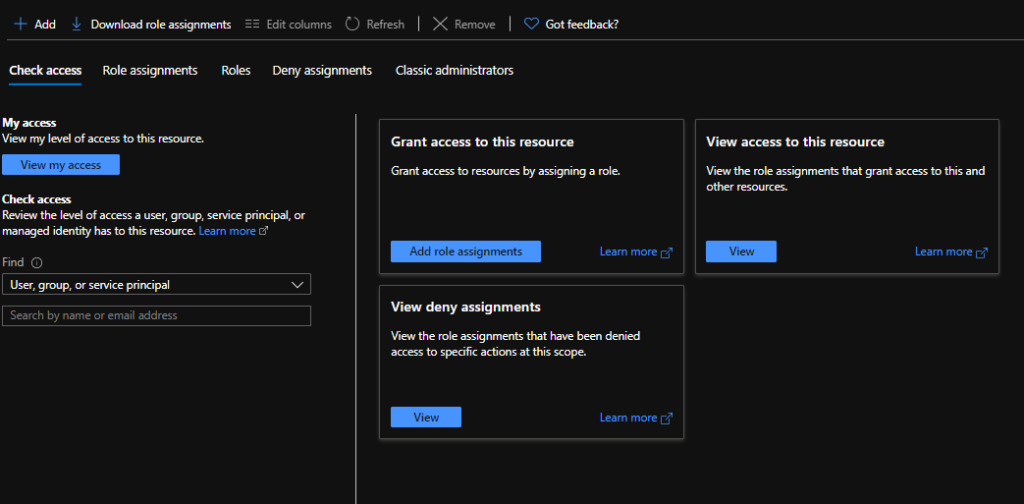
Click on the subscription name and select Access Control (IAM).
Click on the Add button in the Add a role assignment box.
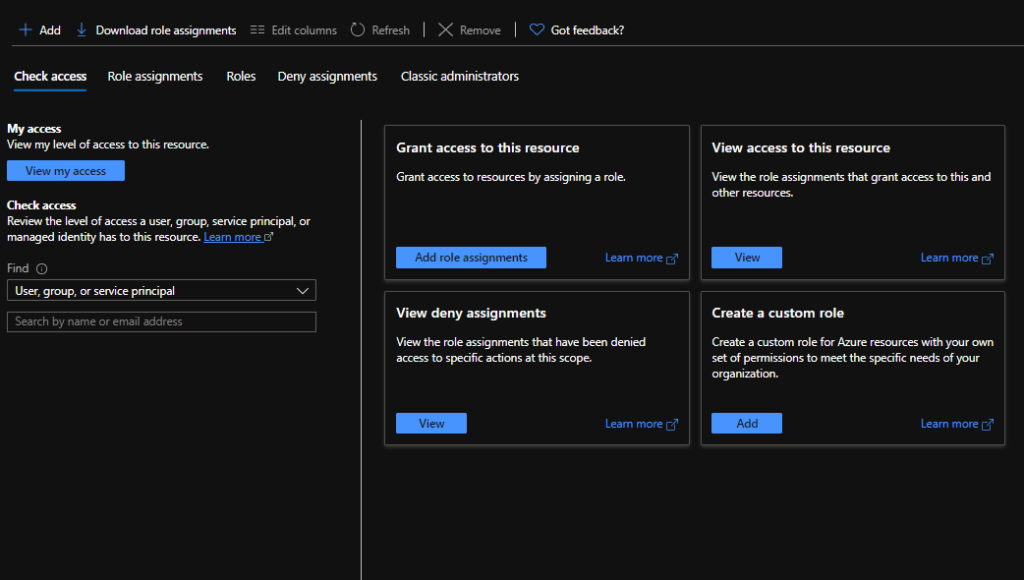
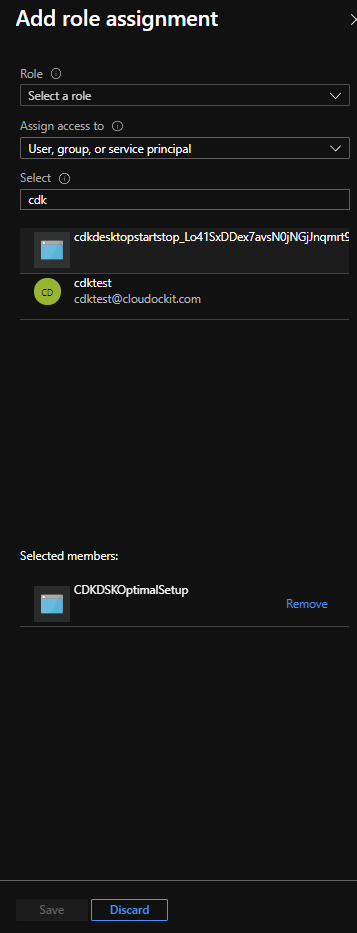
In the Add a role assignment section, select the following:
- Role: Reader
- Select: Select the virtual machine you have created
Make sure the Virtual machine is in the Selected Members section.
Click on Save
GIVING THE VIRTUAL MACHINE PERMISSIONS ON THE STORAGE ACCOUNT
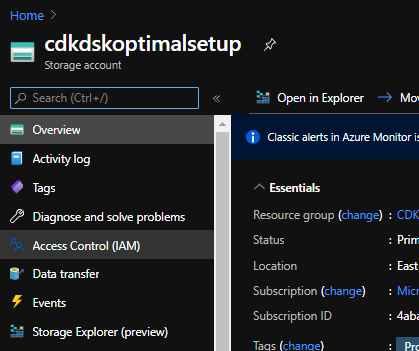
Access the list of storage accounts in your subscription and select the account where you want documents from Cloudockit Desktop to be saved.
Click on Access Control (IAM)
Click on the Add button in the Add a role assignment box.
In the Add a role assignment section, select the following:
- Role: Contributor
- Select: Select the Virtual Machine you have created.
Make sure the Virtual Machine is in the Selected Members section.
Click on Save
ADDITIONAL PERMISSIONS
Visit the following page about additional permissions: https://www.cloudockit.com/knowledge-base/which-permissions-are-needed-to-generate-documentation-with-cloudockit/
Step 4 – Cloudockit Endpoints
Visit this page: https://www.cloudockit.com/knowledge-base/cloudockit-endpoints/
Step 5 – Launch Cloudockit Desktop and Schedule a Document Generation
Connect to the Virtual Machine just created.
CREATE A SHORTCUT
The first step is to create a shortcut to launch Cloudockit from your desktop.
Open Windows Explorer and go to this folder, C:\Program Files\CloudocKit
Identify the file named Cloudockit.exe
Create a shortcut and place it on your desktop.
ACTIVATING CLOUDOCKIT
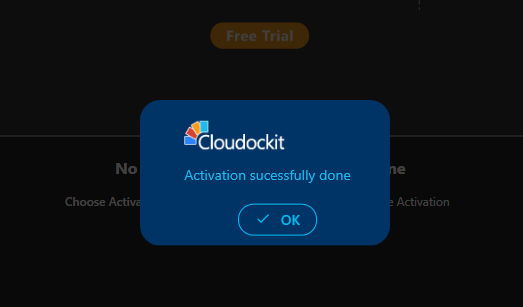
Click on the desktop shortcut of Cloudockit to launch the application.
You will need to enter your product key to activate Cloudockit Desktop.
If you have not purchased a product key yet, please visit our Pricing Page.
You will see a message confirming that the activation was done successfully.
Click on OK
CONNECTING TO AN AZURE PLATFORM
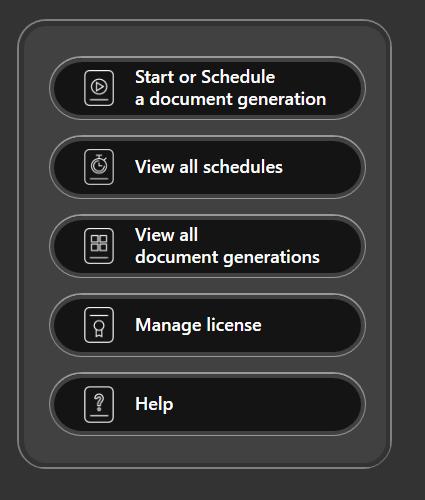
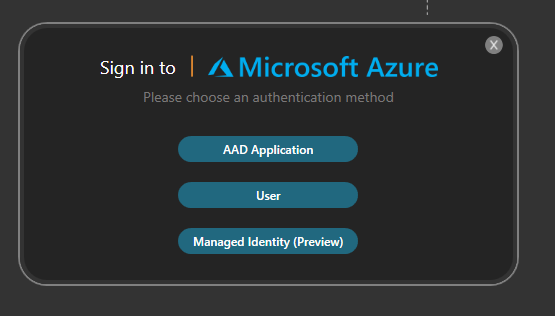
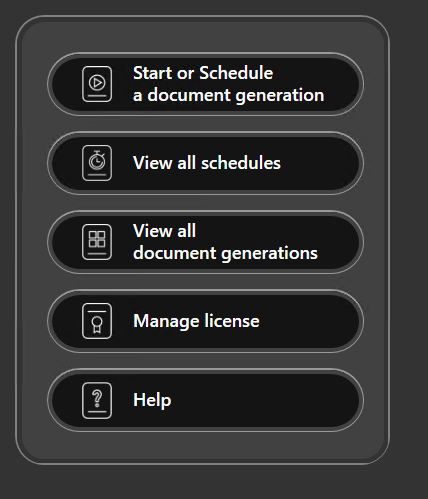
Click on Start or Schedule a document generation.
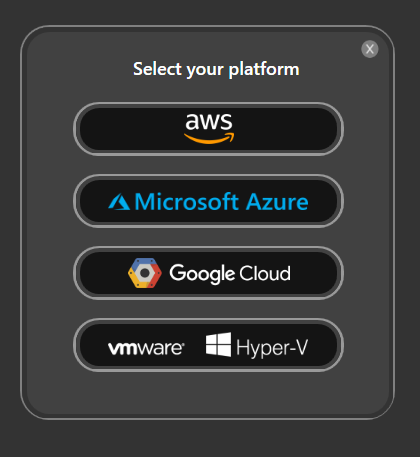
Select Microsoft Azure from the list of platforms.
Select Managed Identity (Preview).
Select your Cloud Type and click on Login.
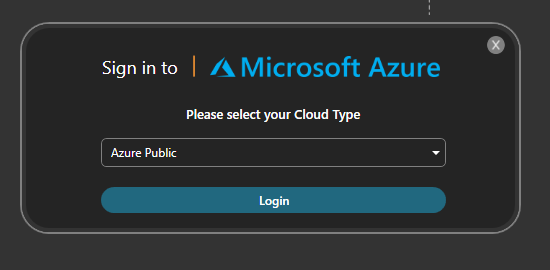
Select All subscriptions and click on Continue.
SCHEDULE A DOCUMENT GENERATION
Now that you are logged in, it is time to define what information you want to generate using Cloudockit.
Set the desired parameters under Documents, Workloads, and Organize Content.
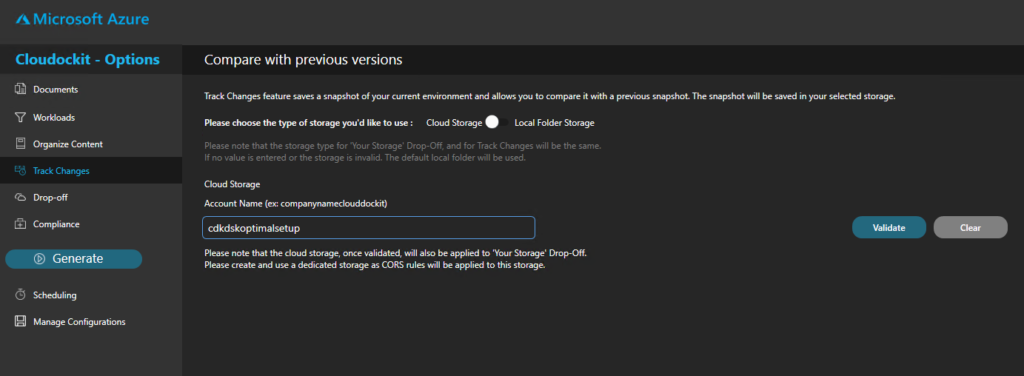
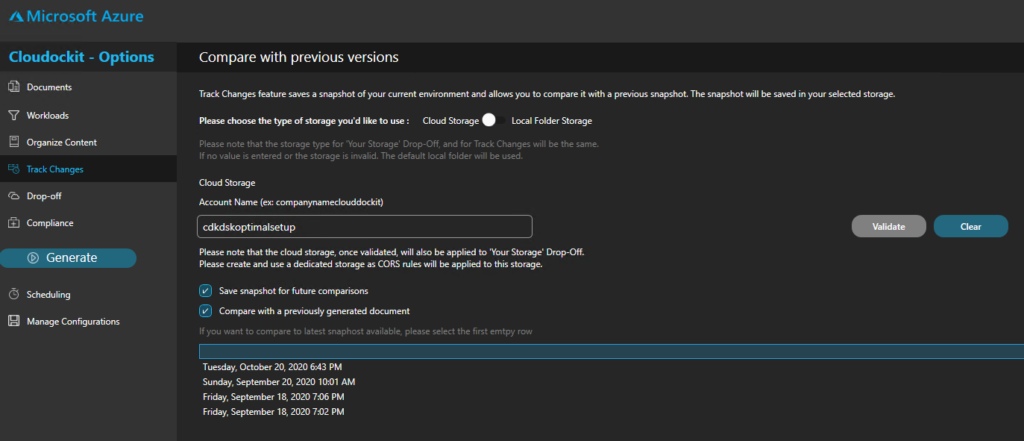
TRACK CHANGES
Use the storage account created previously to track changes. This will allow you to see the differences that have occurred between a previous document and the one running right now.
Select Track Changes from the menu to the left.
Enter the name of the storage account in the Account Name box and press validate.
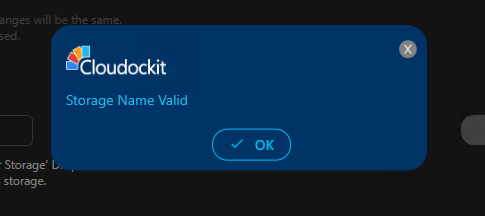
A confirmation message will confirm that the storage account is valid.
Check the box Save a snapshot for comparison.
This will save a JSON file in the storage account every time a new document is generated.
Check the box Compare with a previously generated document.
Select the first empty row that appears below.
This will always select the most recent file in the storage account to compare.
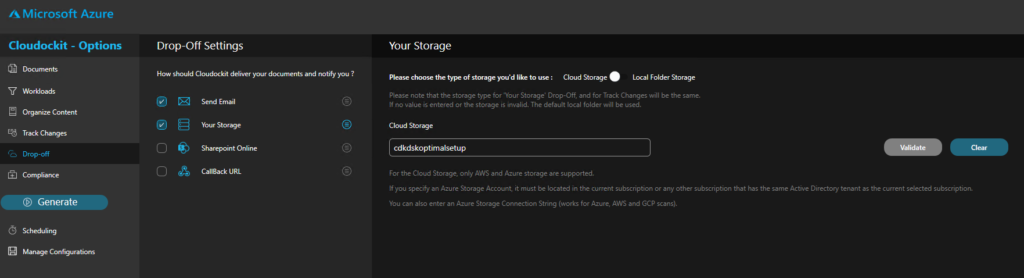
DROP-OFF
In the Drop-Off settings, the same storage account as defined in the Track Changes section is automatically selected.
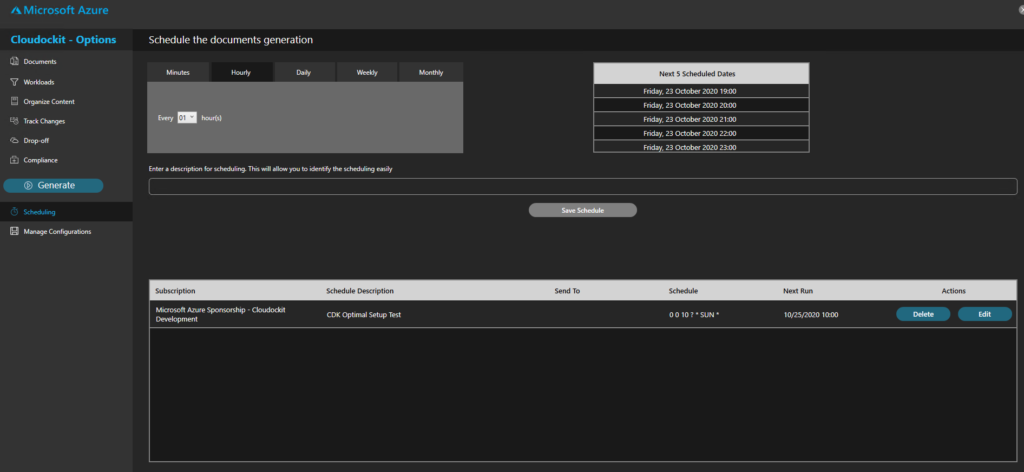
SCHEDULING
Define the desired schedule for your documentation to run and save your schedule.
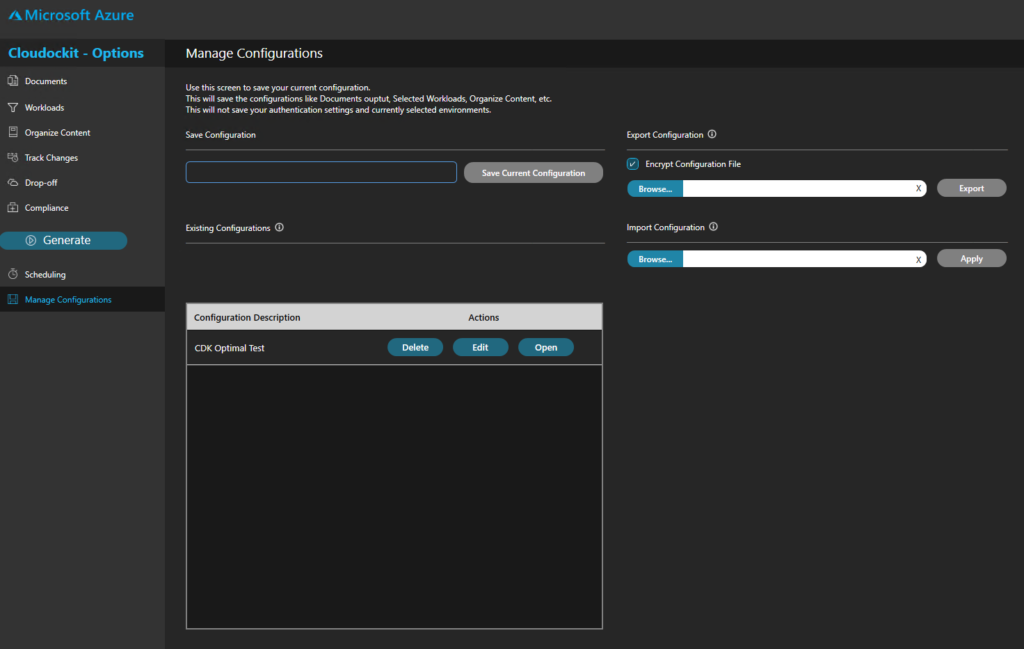
CONFIGURATION
Enter a unique name to the parameters you have set and click on Save Current Configuration.
Your configuration is saved, you can load or edit it in the future.
Step 6 – Validate that documents are successfully generated
Once your scheduled document generation is complete, let’s validate that it has been scheduled properly.
From the main menu, select View all schedules.
In the list, you will see the scheduled documentation you have configured.

You can now press run to generate a manual document generation or wait for the schedule to run its course.
Once your document is completed, you will be able to access it from the Storage Account or from the desktop application.
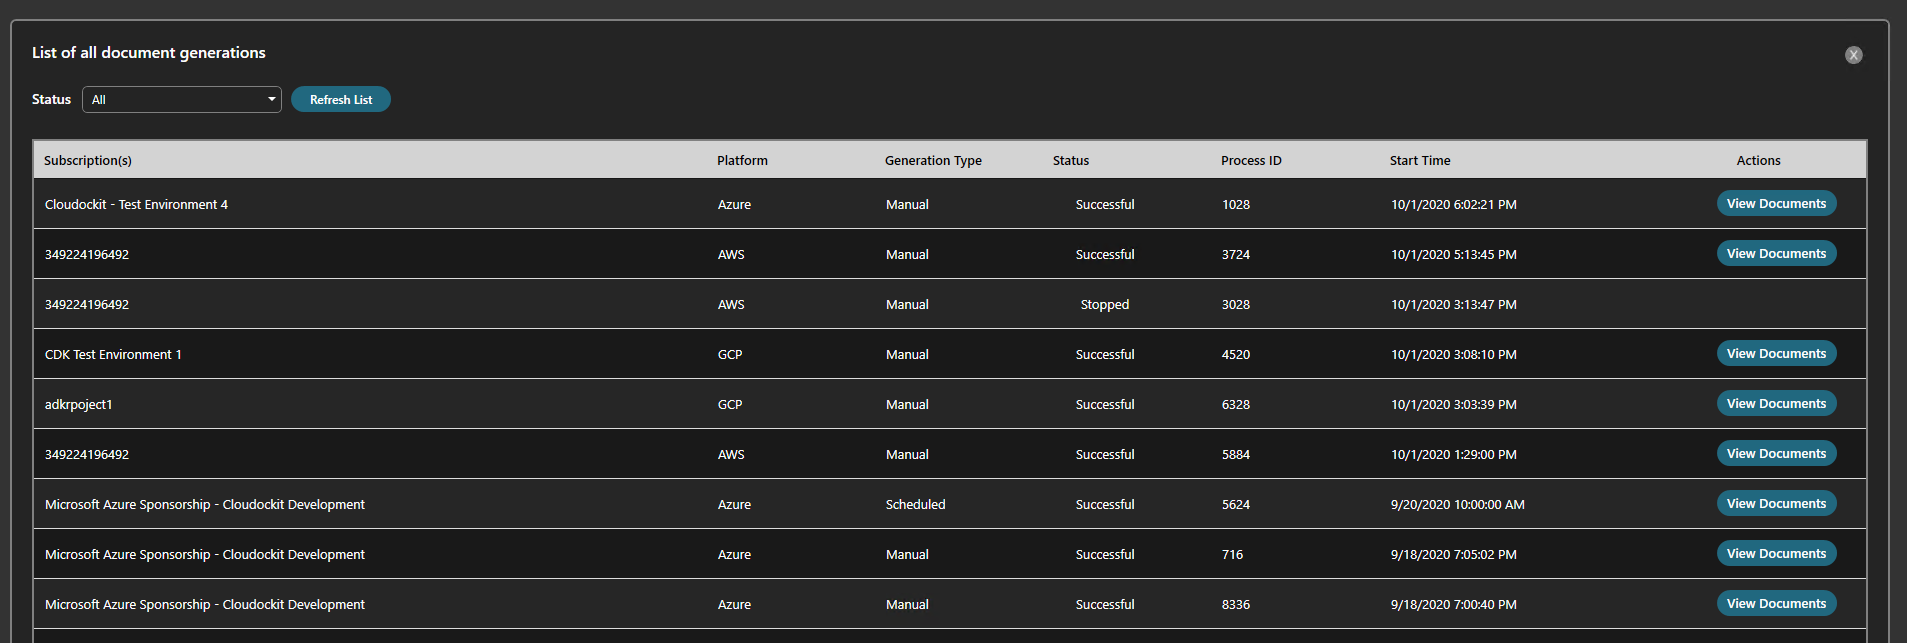
Click on View all document generations from the main menu.

You will see the list of the documents that have been generated.
You can access the documents from the View Documents button on the right.