

Knowledge Base
Getting Started – Trial Mode
An overview of how to start your auto-generated documents and diagrams in just a few minutes.
Note: This procedure is valid for the Free Trial mode when clicking on the Free Trial button on our site. We have designed this flow to make it as fast as possible for you to try the product without roadblocks. As we simplified the process, it also leaves out more advanced login options like AWS Roles and AAD Application. If you want to use those options, click here.
Cloudockit SaaS
To start, click on the Free Trial button in the top right corner.
STEP 1 – CHOOSE YOUR PLATFORM
First, you need to choose which platform you want to document:
- AWS
- Azure
- Google Cloud Platform
- On-Premises (VMware/Hyper-V)
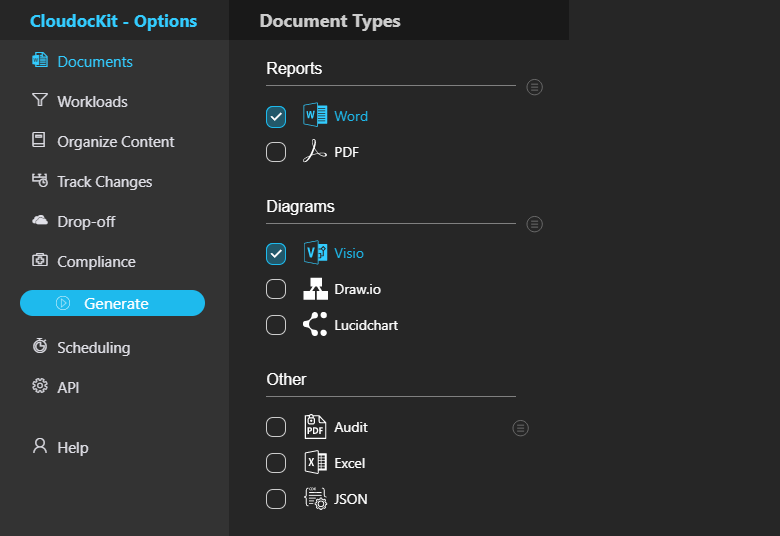
Once you have selected your platform, you can see the settings available for you to change before starting the Reports & Diagrams generation. For simplicity we will leave those settings empty and click on the Generate button in the left column:
You are now prompted to enter your email. An email confirmation will be sent to that email once the document generation is completed.
STEP 2 – CONNECT YOUR ENVIRONMENT
Depending on the platform you choose, you will see the following Authentication Options:
- Azure
- You are prompted to enter an Azure Active Directory Tenant Name. Click here to see how you can find it
- Once you enter the Tenant Name and click OK, you will be redirected to AAD for authentication
- Once authenticated, you will see the list of subscriptions you have access to
- Select the Subscription for which you want to generate reports and click Start
- Note: Cloudockit also supports authenticating using an AAD Application. This is not available in the Free Trial mode, but you can still test Cloudockit using the Login button instead of the Free Trial button (even if you do not have a license)
- AWS
- You are prompted to enter your AWS Access Key ID & Secret Access Key. Please refer to this page for detailed steps on how to generate those keys
- Once authenticated, you will see the list of Accounts you have access to
- Select the Account for which you want to generate reports and click Start
- Note: Cloudockit also supports authenticating using AWS Roles. This is not available in the Free Trial mode, but you can still test Cloudockit using the Login button instead of the Free Trial button (even if you do not have a license)
- Google Cloud Platform
- You are prompted to use your Google Account or a Service Account to authenticate your Google Cloud Platform environment
- If you want to continue with your Google Account, please note that you will be prompted with a security warning as Google recommends using the Service Account
- To use Service Account, please click here
- Select the organization for which you want to generate reports and click Start
- Hyper-V / VMware
- No authentication is required
- Please click here to know more about this feature
At the end of the process, you will see download links in your browser and will receive an email. You can change the email address in the drop-off tab.
Remember, it can take a while for huge environments, so you can grab a cup of coffee in the meantime.
Cloudockit Desktop
STEP 1 – ACTIVATE THE FREE TRIAL
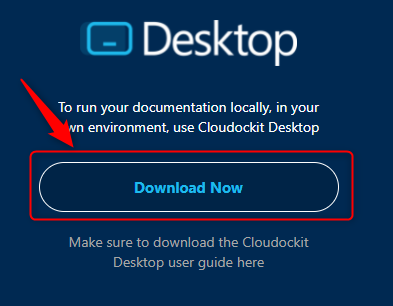
To start, download the latest version of Cloudockit desktop from our site, https://generate.cloudockit.com, and install the application on the windows machine of your choice.
Launch the application once the installation is completed.
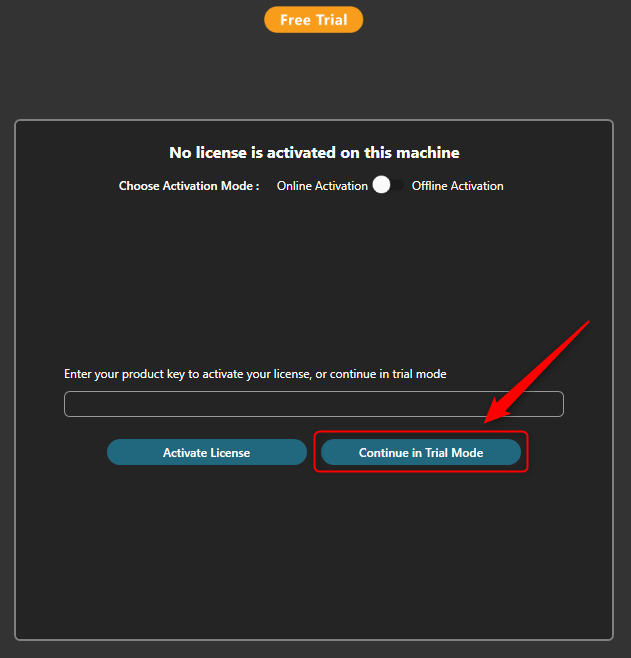
Click on Continue in Trial Mode
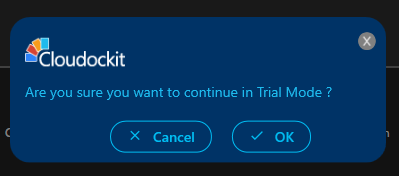
Click OK
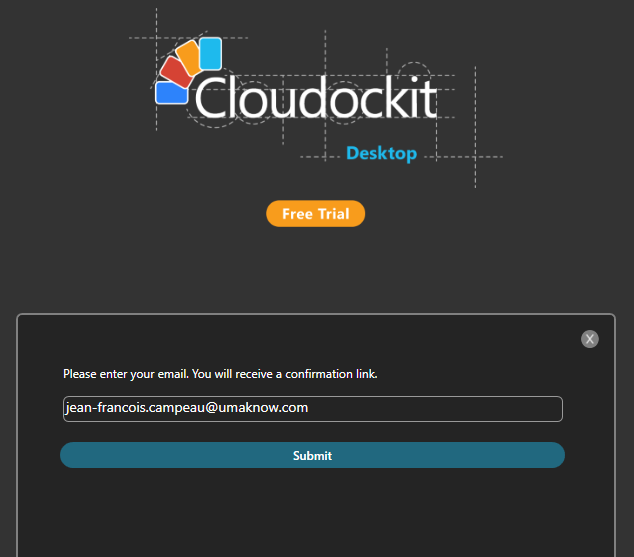
Enter the email address where the trial activation will be sent and press submit.
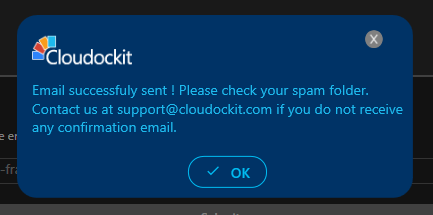
A pop-up will display confirming an email has been sent.
Close Cloudockit Desktop.
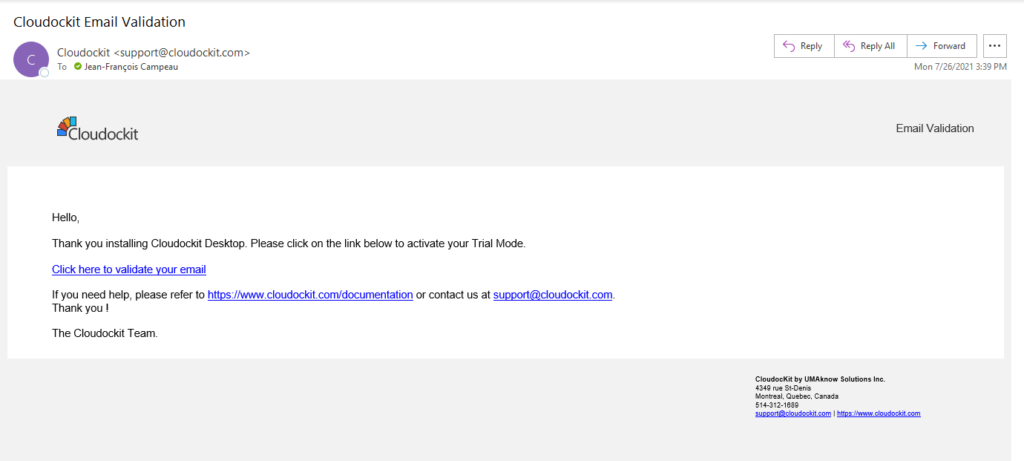
Check your inbox and open the email that has been sent from [email protected].
Click Click here to validate your email.
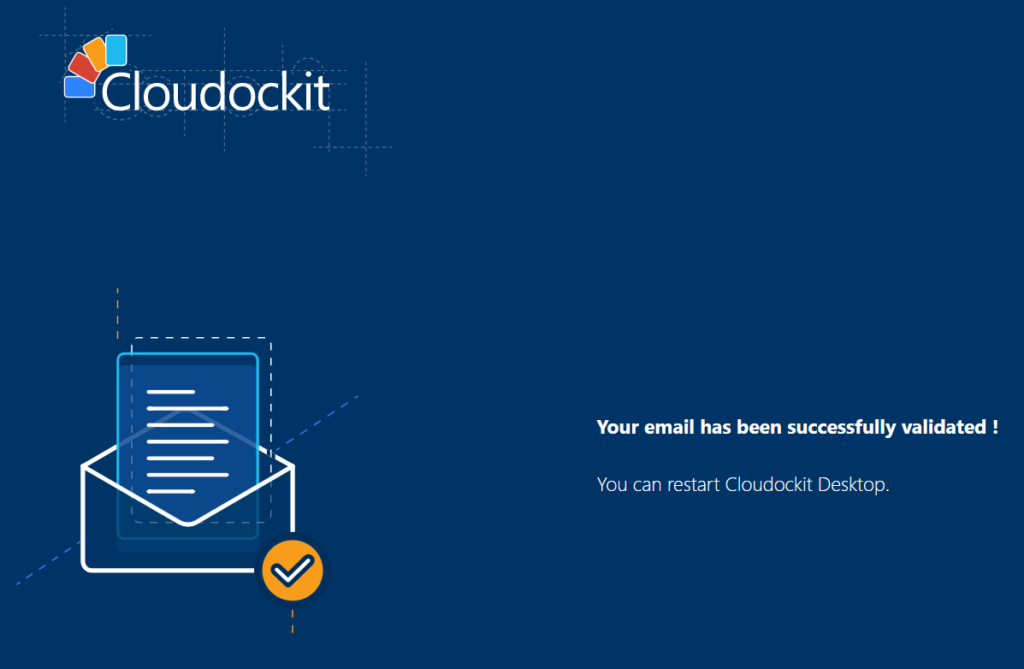
A new tab will open in your browser confirming that your email has been successfully validated.
Open Cloudockit Desktop.
STEP 2 – CONNECTING TO YOUR ENVIRONMENT
Click Start or Schedule a document generation and select the platform you want to document.
Depending on the platform you choose, here are the details to connect to the platforms.
- Azure
- Please refer to our Azure documentation for details.
- AWS
- Please refer to our AWS documentation for details.
- Google Cloud Platform
- Please refer to our GCP documentation for details.
- Hyper-V / Vmware
- Please refer to our Hyper-V / Vmware documentation for details.